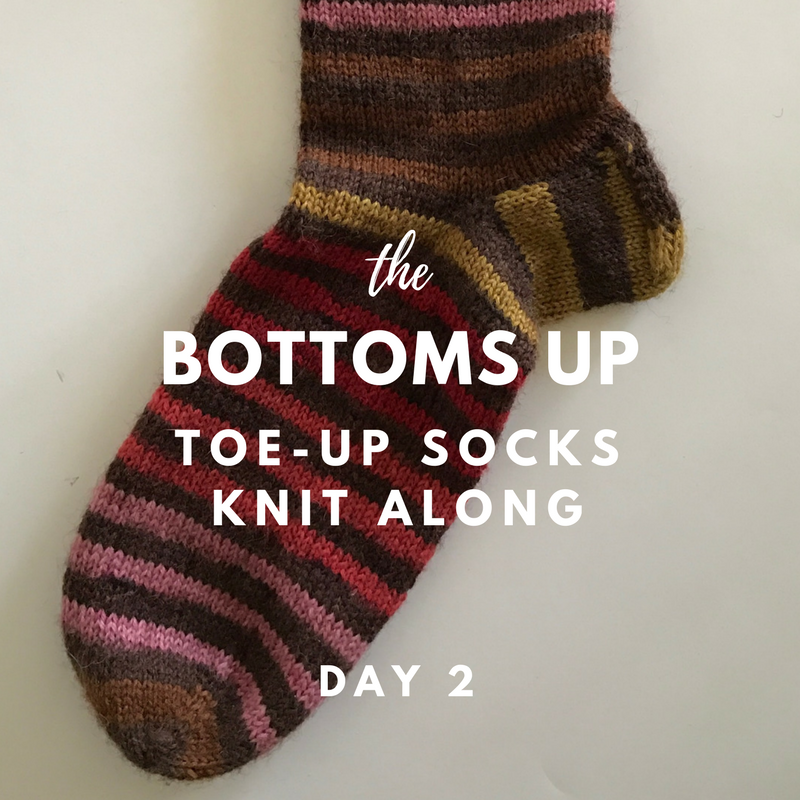
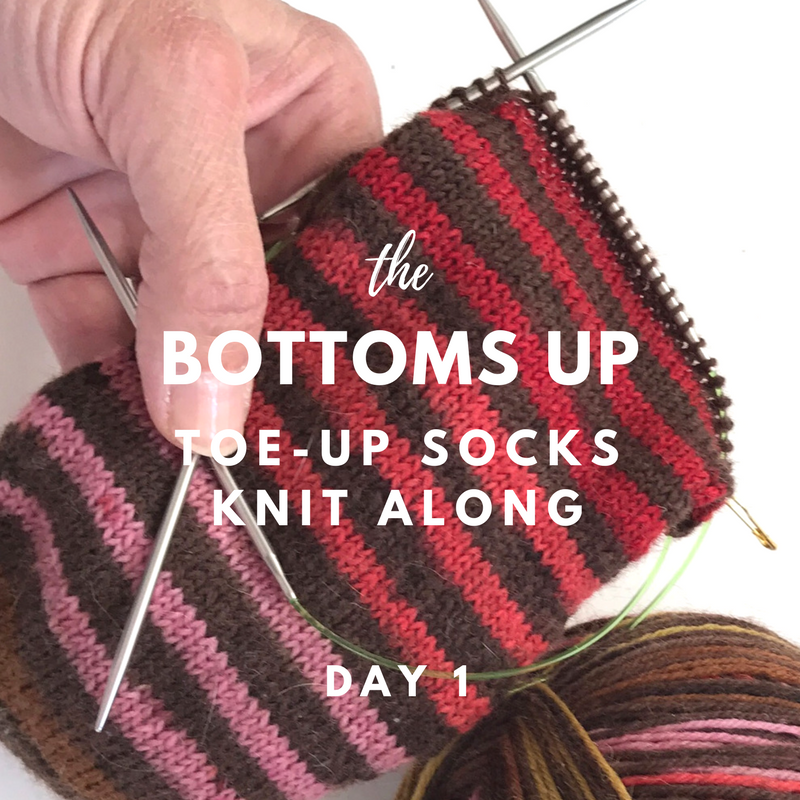
Bottoms Up Socks Knit Along: Day 1
Bottoms Up Knit Along, Shown in Wisdom Stanza color, Atwood
Hello Noble Knitters! It's Donna, the Knitting Doctor, ready to knit along with you today as we create "Bottoms Up" our seamless toe, knit from bottom to top, no-fears socks.
Not only are these socks fun, they are a great way to learn a few new skills in no time flat and that's a fact!
What We'll Learn Today
Judy's Magic Cast-On: Sock toes without a seam - inside or out.
Working with 2 circular needles (alternative to double pointed needles and the magic loop)
Working the heel flap
If you're ready, it's time to gather our tools!
Here's What We'll Need
1 skein of the recommended sock yarn or sock yarn that will knit to the same gauge.
Two size US 2 circular needles 9" or longer (or size needle tip that gets gauge if using an alternate yarn)
2 locking stitch markers (each a different color)
Optional: 16" length of scrap yarn (lifeline for trying on toe)
Optional: small length of scrap yarn for use in identifying cast-on needle sequence
DOWNLOAD Universal Yarn Basic Toe Up Socks Free Knitting Pattern (note: the pattern uses double pointed needles, but we'll be knitting ours on circular needles as written above).
Start Here: JUDY'S MAGIC CAST-ON & 2 Circulars
A little about it Judy's Magic Cast-On. This cast-on was developed by Judy Becker and is probably one of the best things that has happened to hand-knitted socks in a while. Why? Well this cast-on has several nice features. Let's take a look:
Fairly easy to learn for both the beginner and experienced knitter
Produces a non-lumpy area to surround your toes
Produces a professionally finished toe
No need for the Kitchener Stitch
Makes it easy to try on and customize the toe area as you go
Now, let's see if it's easy.
Magic Cast-On Setup
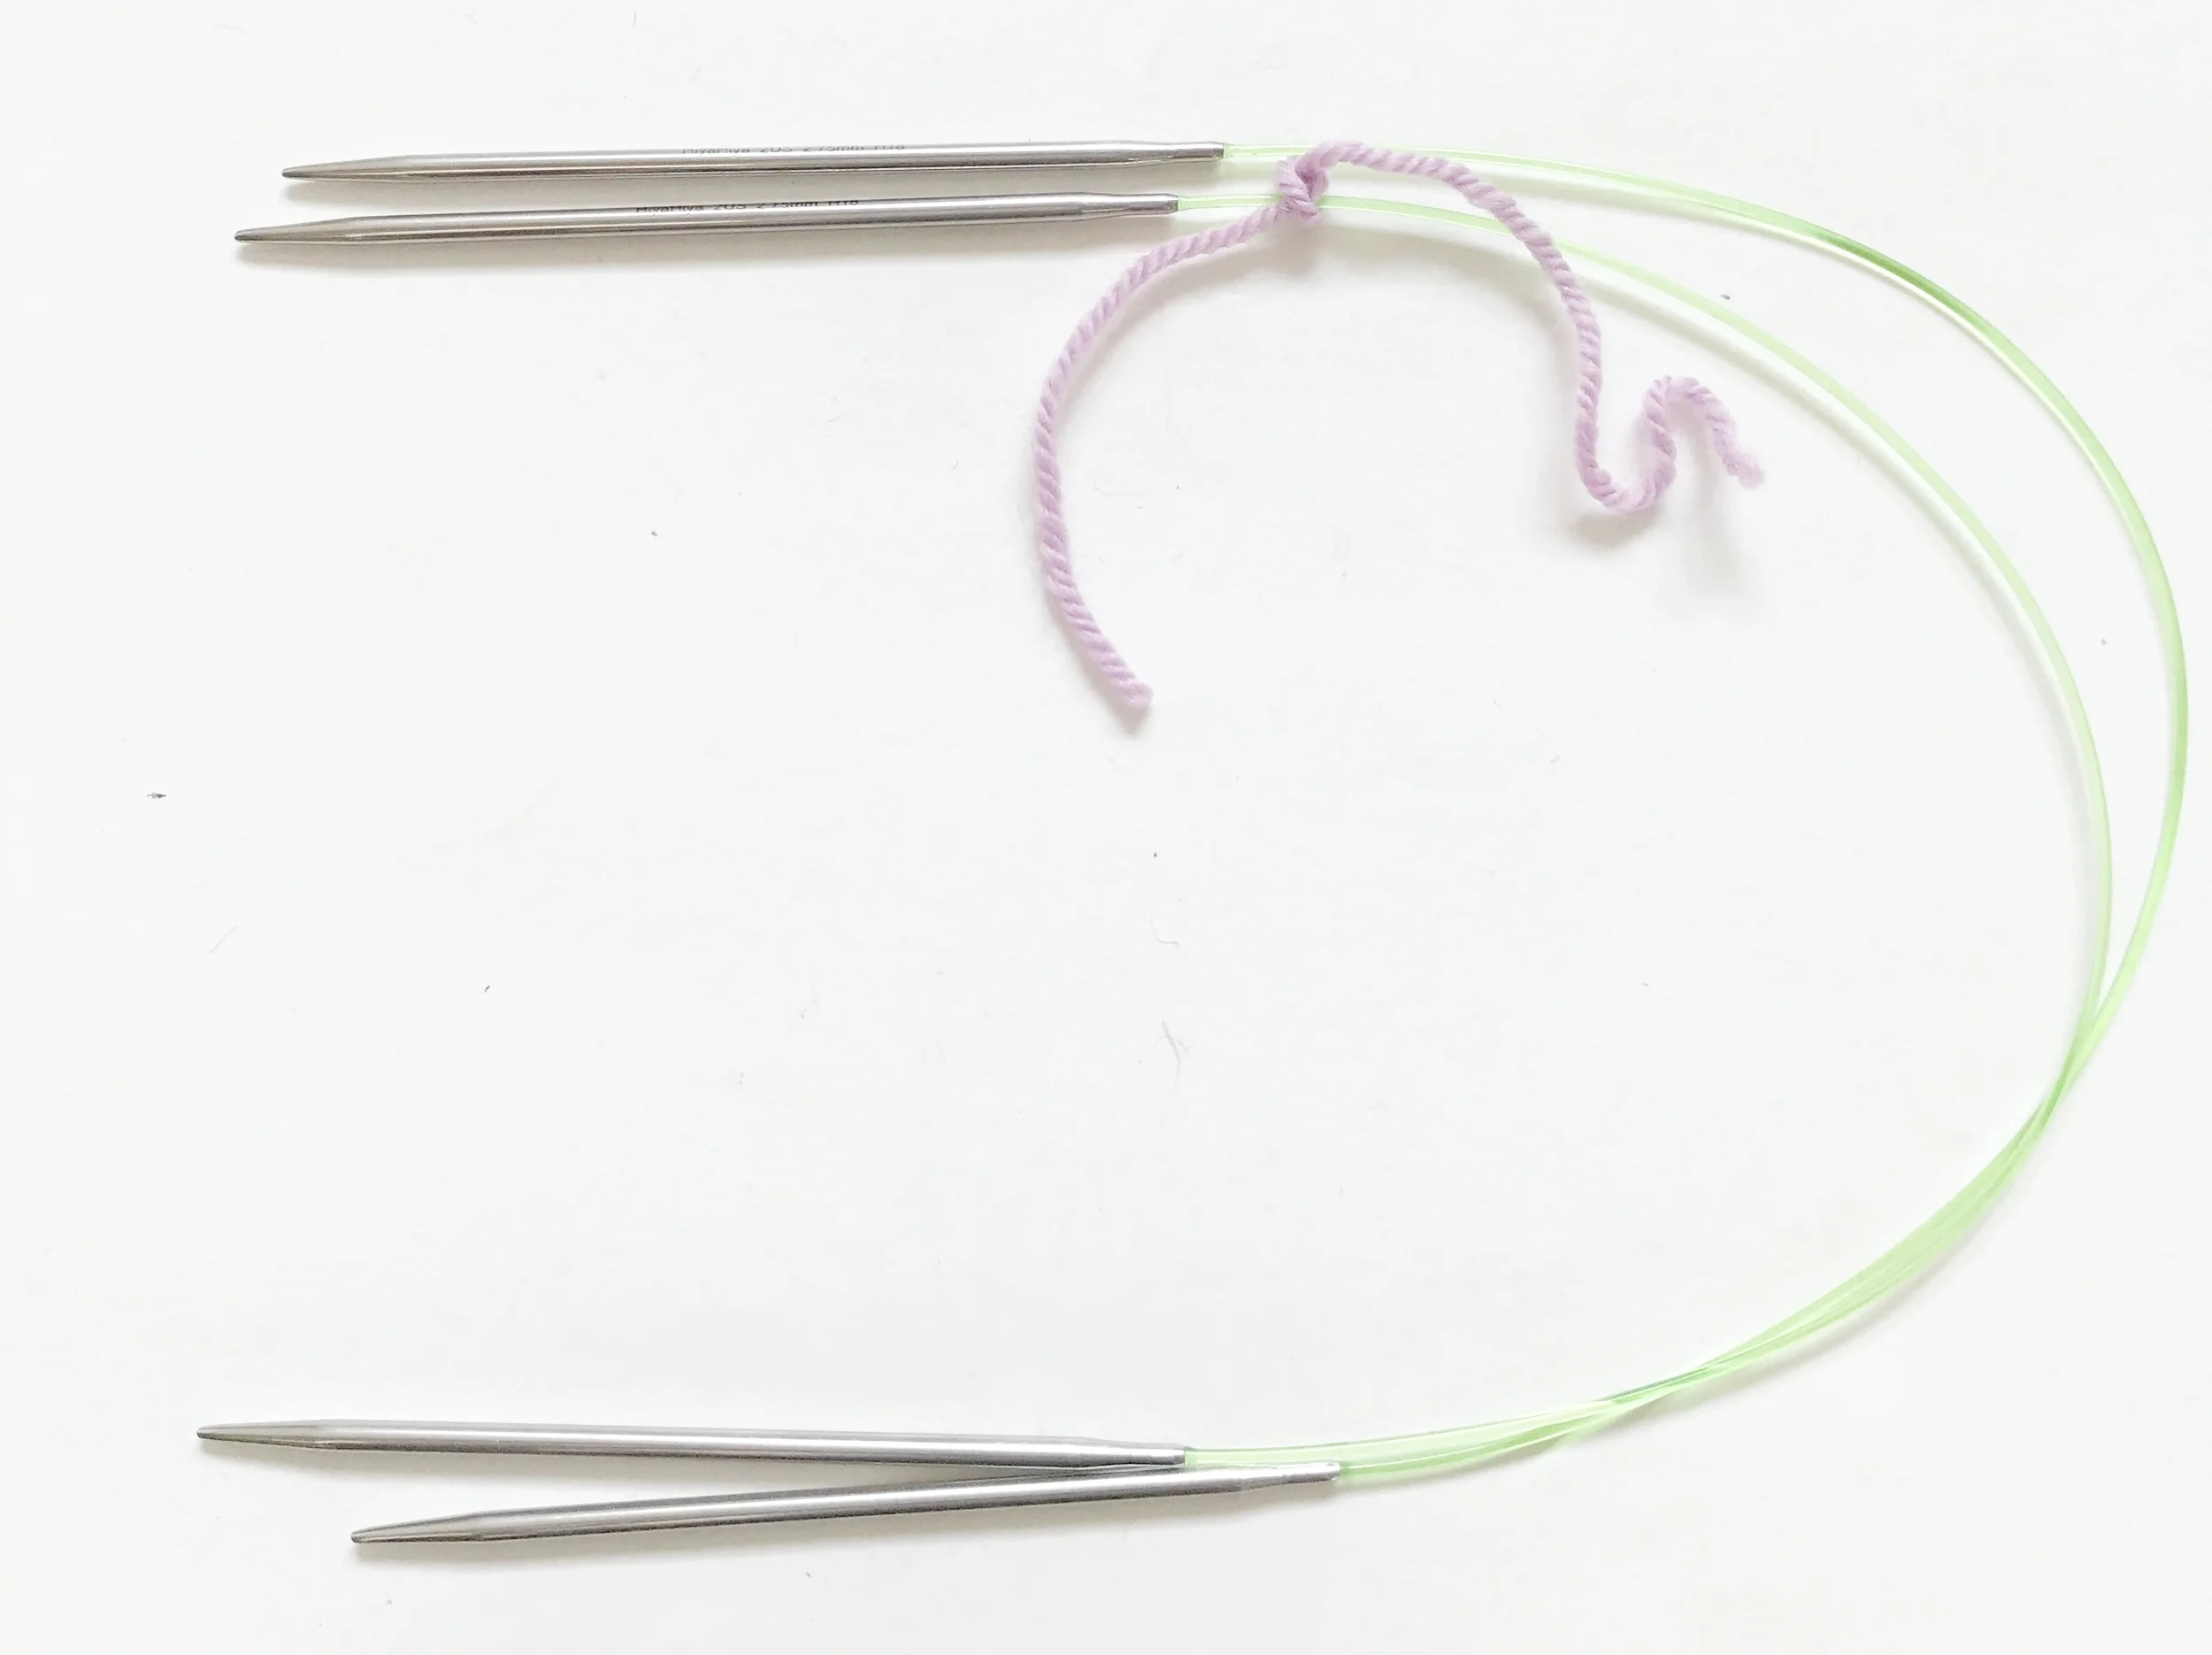
Scrap yarn on the lower needle reminds you that this needle is needle #1
For our set up we'll start by holding our 2 circulars parallel and tying a bit of scrap yarn around the lower needle. This scrap yarn will remind us about the needle sequence. The #1 Needle is on the bottom and that is probably not how you typically think of this sequence so the scrap yarn really helps.
Knitting Tip - Easily Identify the Needles!
Upper Needle = Needle #2
Lower Needle= Needle #1


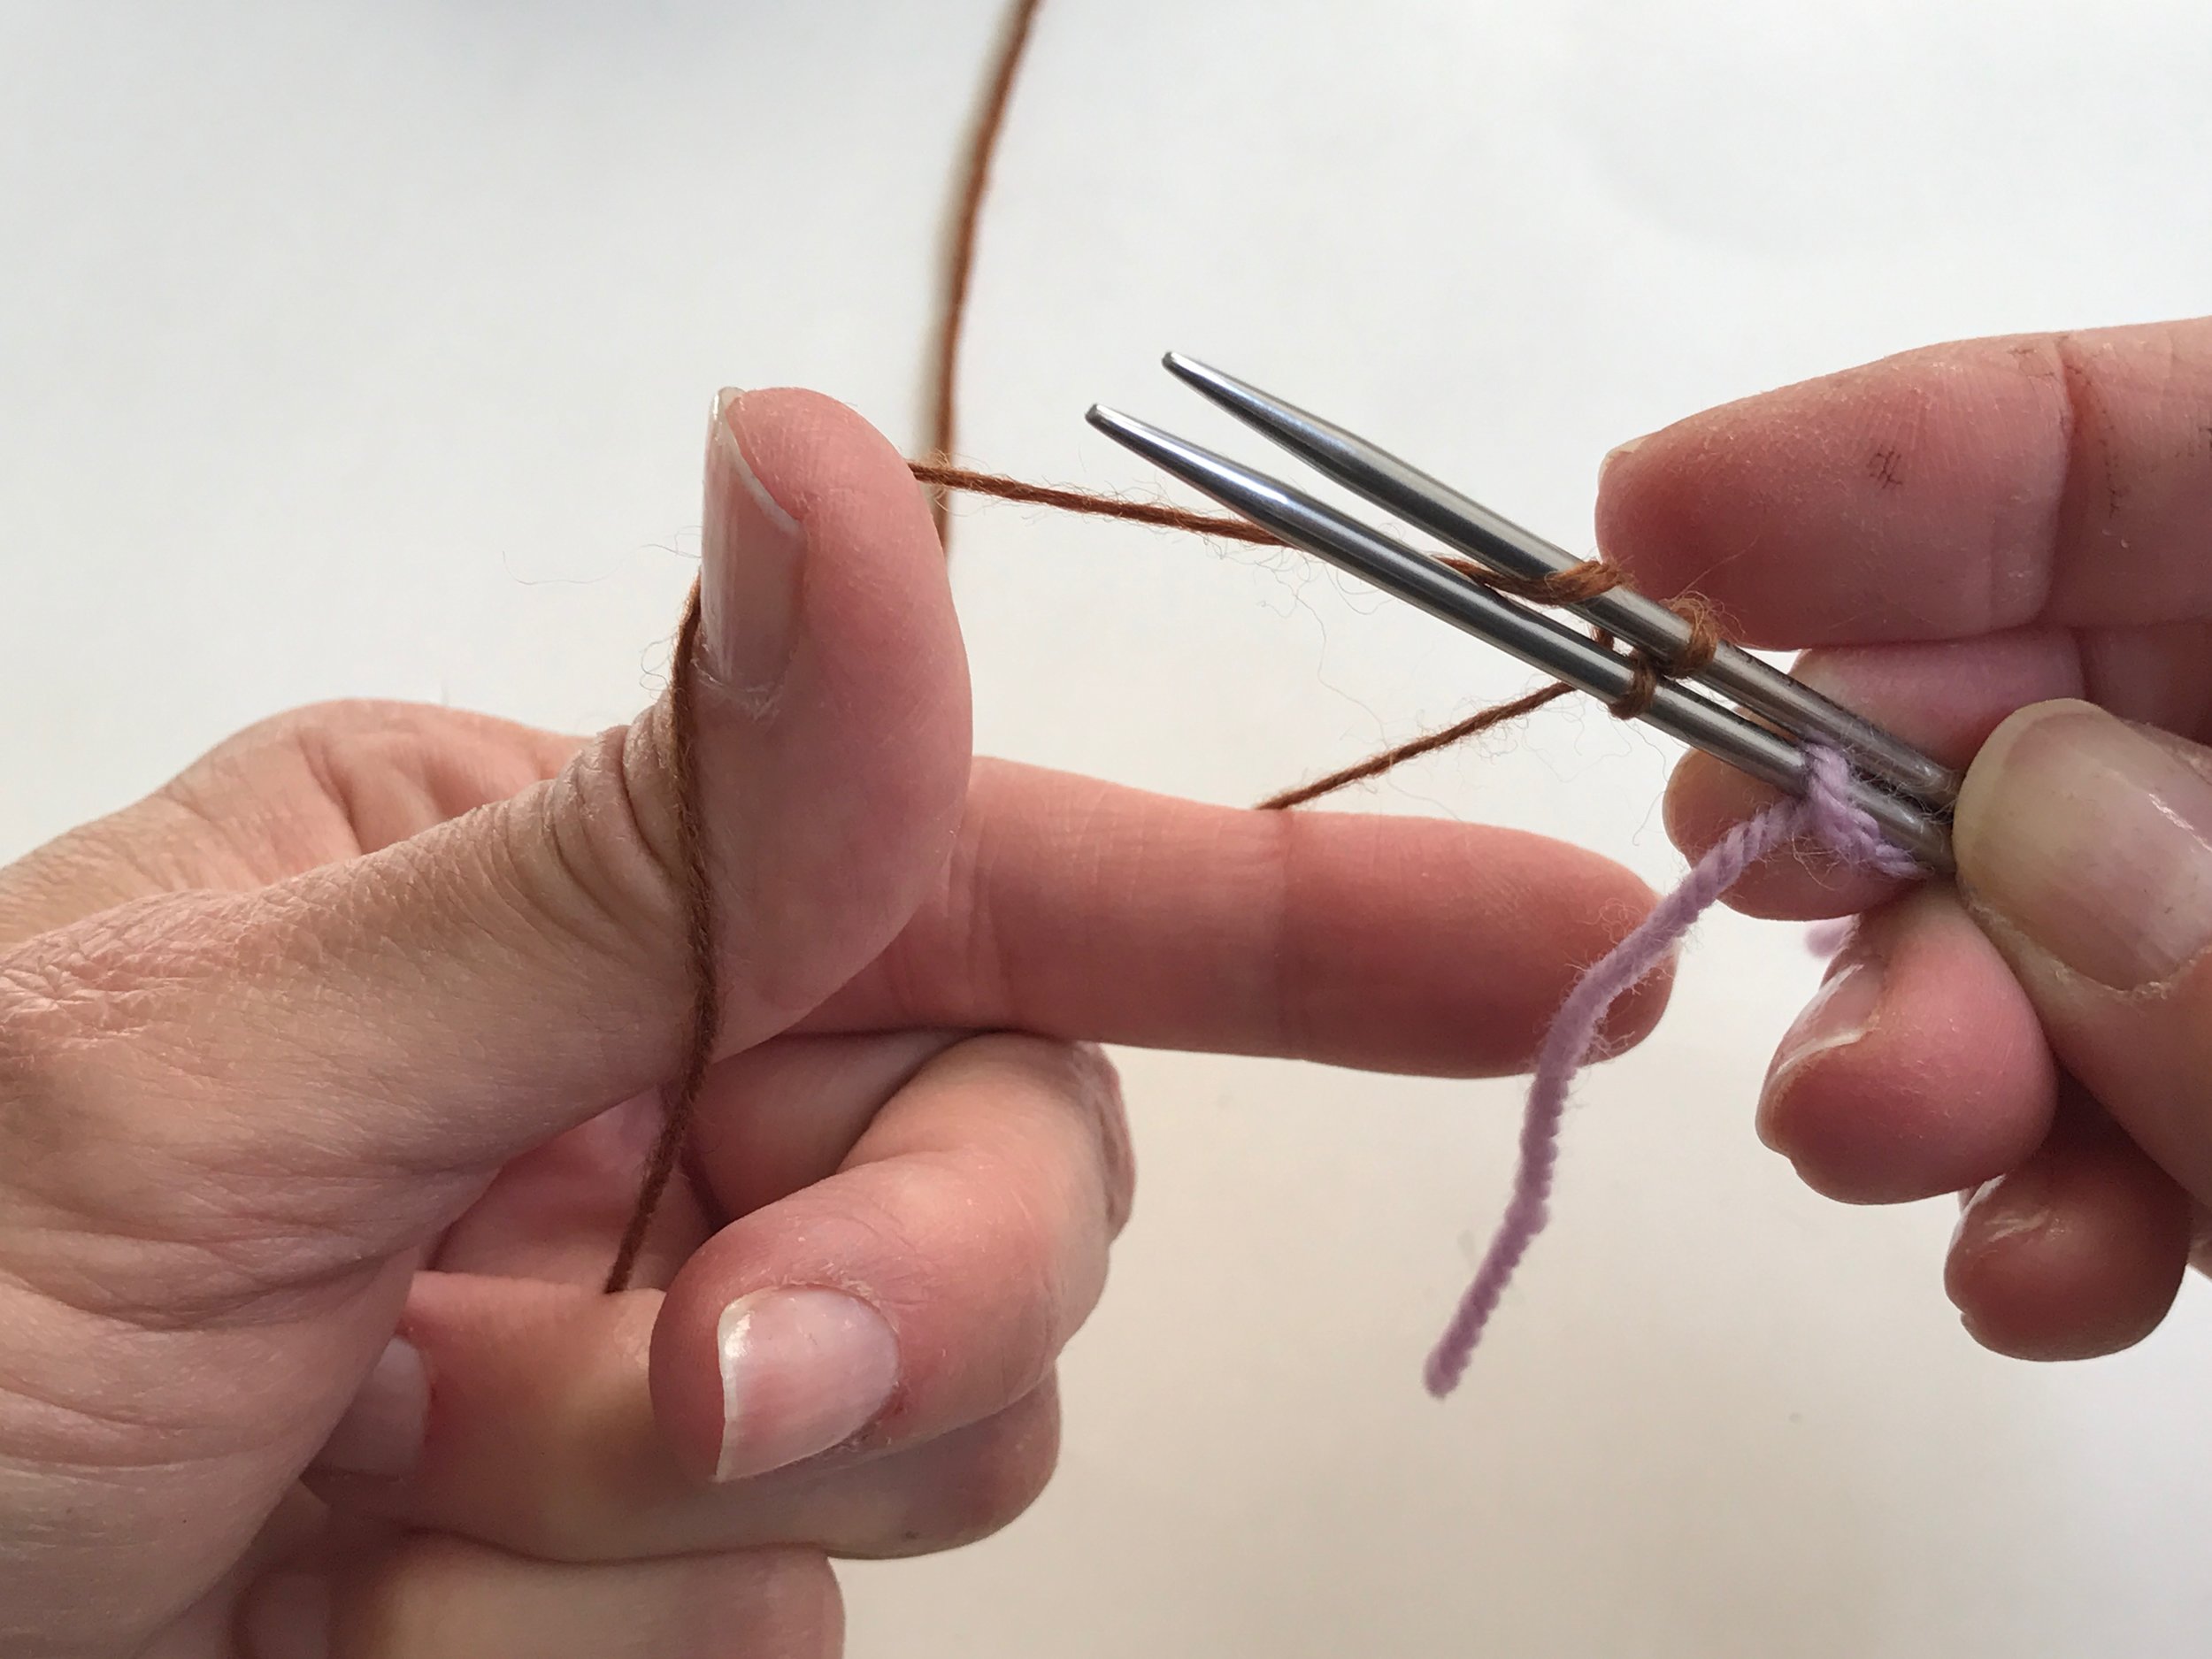
Holding the Yarn
Form a slipknot with an approximate 10" tail and place it on the upper needle - Needle #2 - this is the anchor loop (Image above, left).
This is very similar to how we hold the yarn for the long-tail cast-on EXCEPT the position of the tail and working yarn is opposite of how it is usually worked. The working yarn is at the bottom and the tail at the top.
Wrapping the Needles
1. Bring the tip of the bottom needle - Needle #1 over the strand of yarn on your finger, around and under the yarn to make a loop (image above, center).
Pull up extra slack on the loop but don't pull too tightly. We'll want to be able to work our first round comfortably.
2. Bring needle #2 over the yarn tail on your thumb, around, under the yarn and back up just as in the image above, pulling up slack as we did for Needle #1 (image above, right).


Continue these 2 steps and then with step 1 once more until there are 12 stitches on each circular (image above, right).
Remember as with any new skills this may take a couple of tries and here are some tips to make it a little easier.
Knitting Doctor Tips:
Don't overthink the steps. If the verbiage throws you, let the images be your guide.
As the anchor stitch on Needle #2 counts as a stitch we will always have one more stitch on the top needle after finishing steps 1 & 2. That's why we'll finish with step 1.
How to hold the needles
Needle #1 = Bottom Needle = wrapped from yarn on finger.
Needle #2 = Top Needle = wrapped from yarn on thumb
Wrapped those 24 stitches? CONGRATULATIONS! Then Judy's Magic Cast-On is completed!
Knitting The Sock


Round 1
Flip the needles over so that Needle #1 is on the top (image above, left).
Pull the needle tip of Needle #2 to the right so our 2nd set of stitches are resting on the cable.
Make sure the tail rests under the working strand (image above, center) before knitting the 1st stitch. This will anchor the tail.
Remove the scrap yarn.
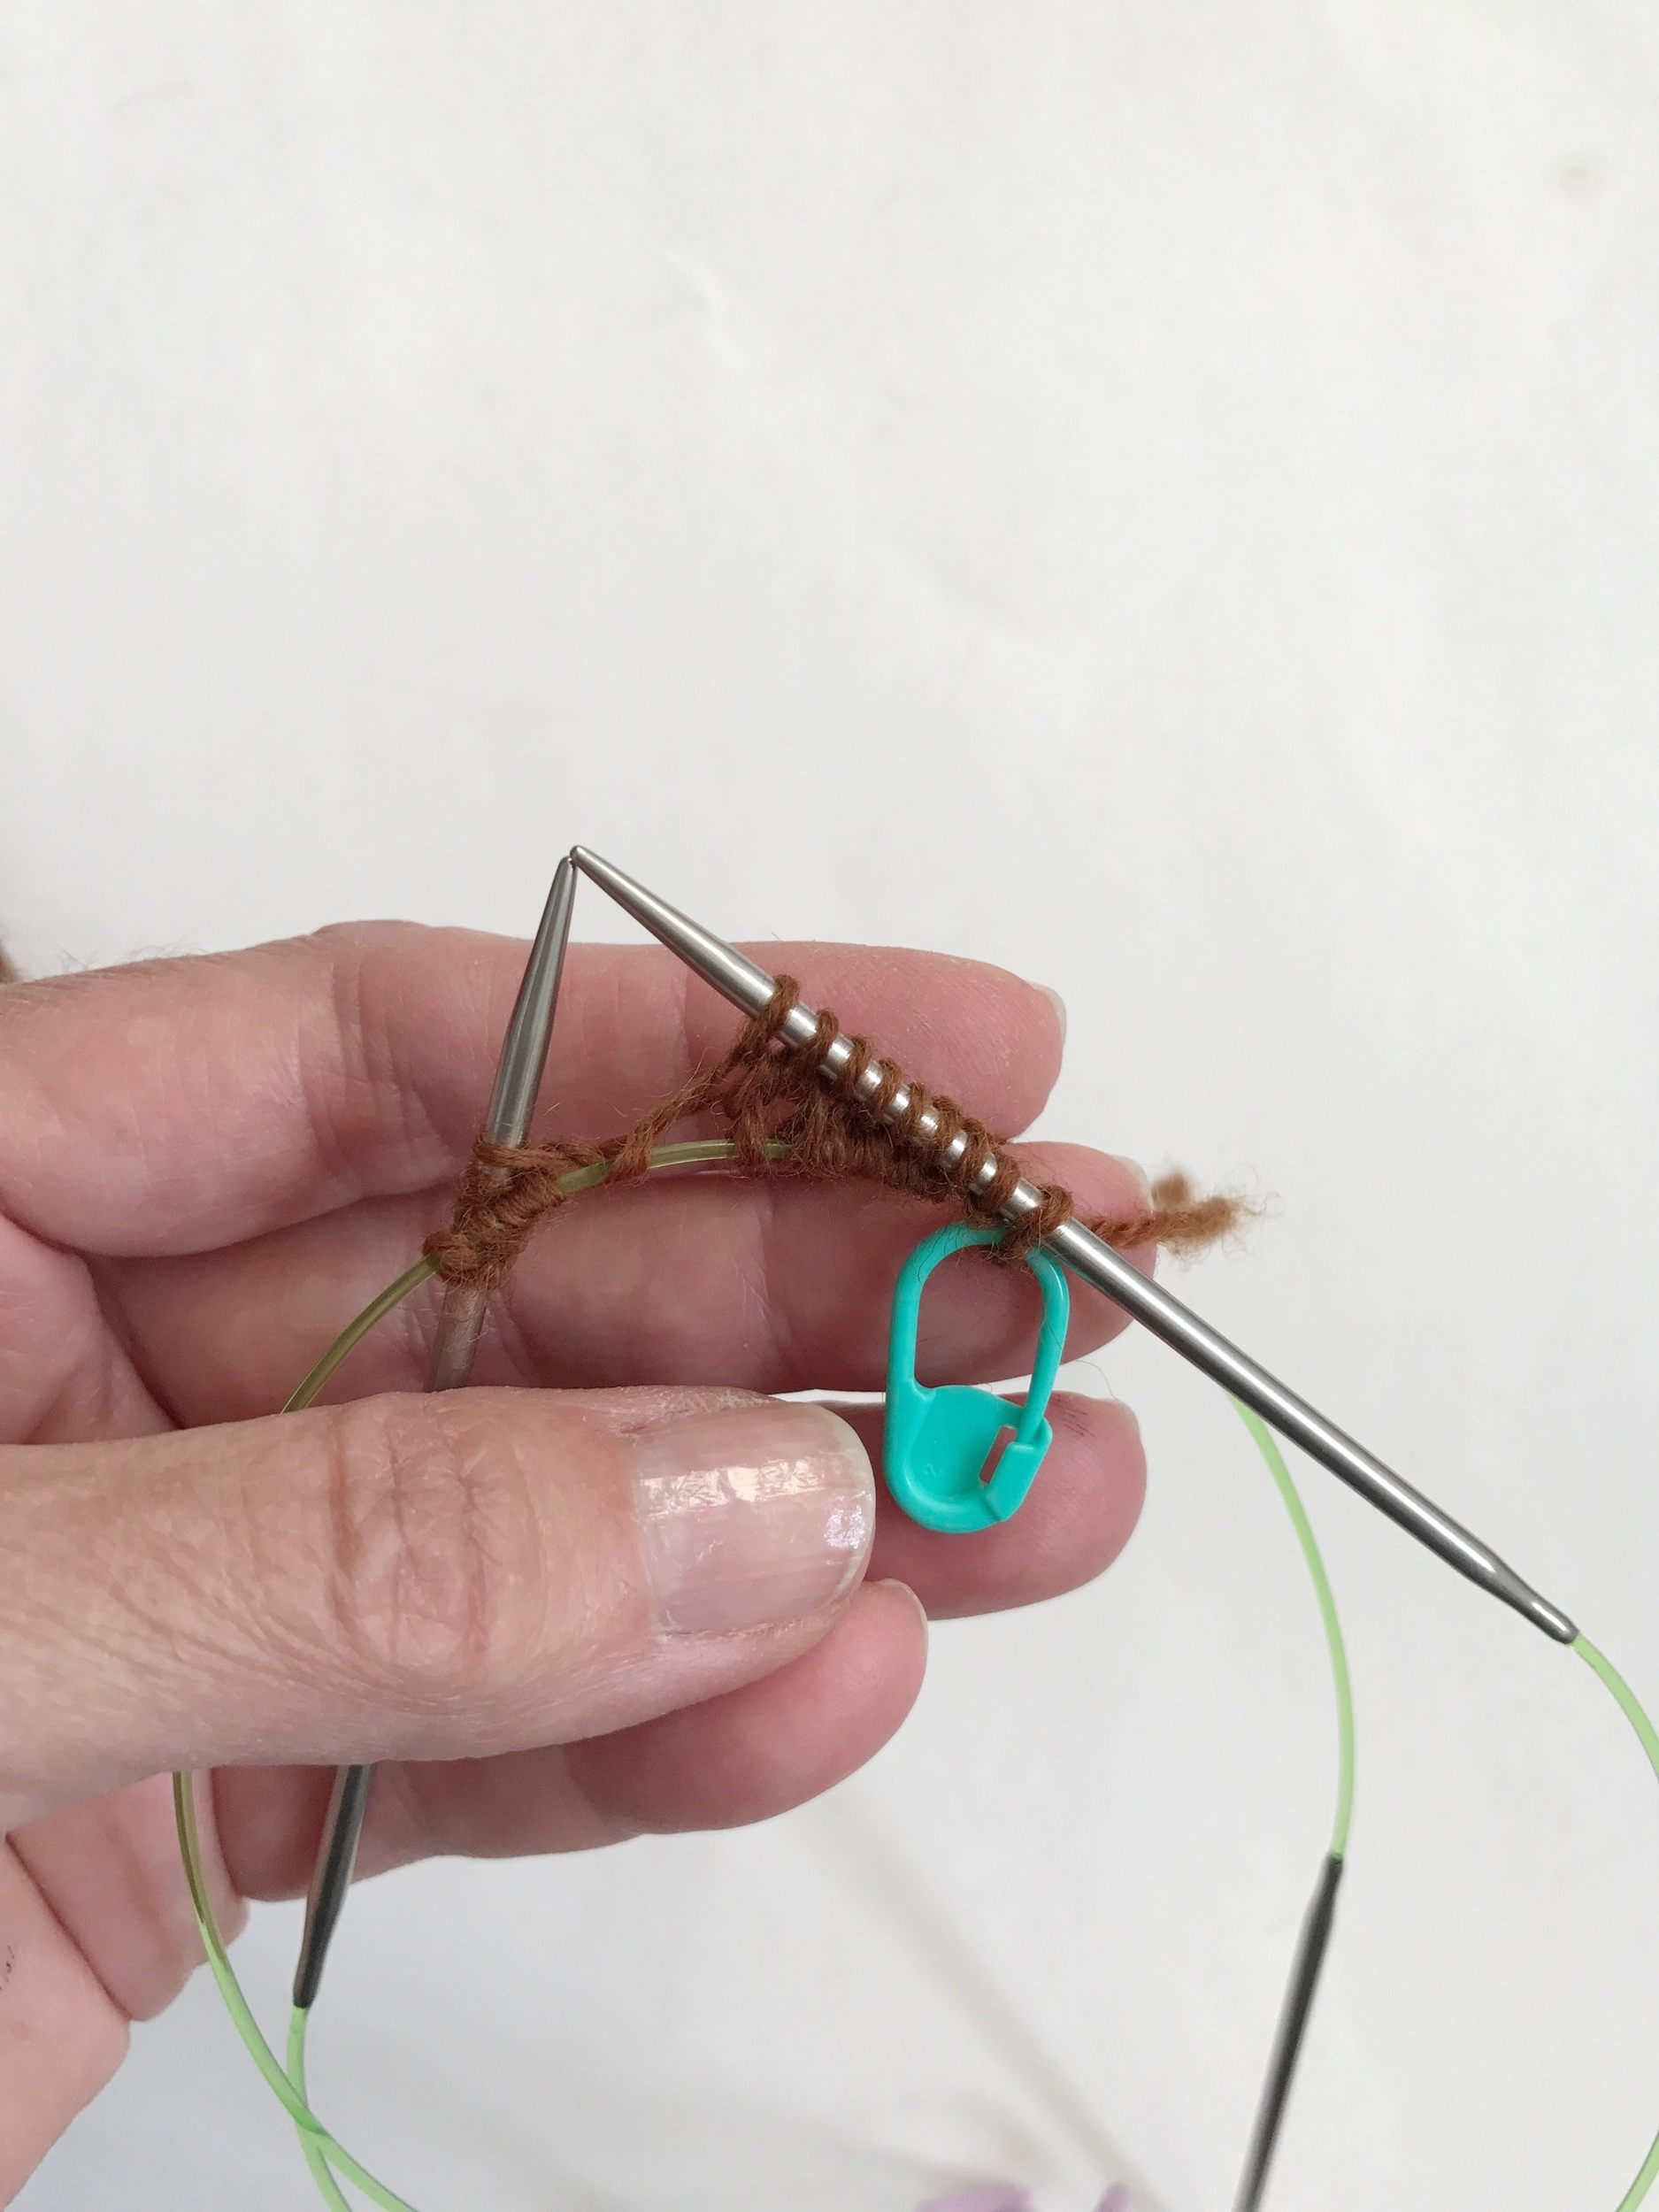
Round #1, Needle #1
We'll start by placing a locking stitch marker in the 1st stitch, work the stitches on Needle 1 as per the pattern instructions (image above, right).
Don't forget to work those "Make 1" stitches on the 1st round. They will form a decorative ridge on our toe.
Need a refresher on these increases? Ok, then here they are:
How to Make 1 Increase
M1L = Make one left slanting by lifting the strand between the stitches from front to back, then knit into the back of the stitch.
M1R = Make one right slanting by lifting the strand between the stitches from back to front then knit into the front of the stitch
Make those 1st set of increases then we'll move on to Needle #2.


Round #1 , Needle #2
Now we're ready for Needle #2. This is how our toe should look after working the 1st set (12) stitches (image above, left).
Now we will:
Pull the tip of Needle #1 (tip at working yarn) to the right so that all of the Needle #1 stitches are on the cable (image above, right).
Place the 2nd different colored locking stitch marker in. the 1st st on Needle #2
Work across the stitches on Needle #2 the same as for Needle #1 but (this time only) work the knit stitches through the back loop.
Knitting Doctor Tips:
If lifting the strands between stitches for the increases is difficult, use a very small crochet hook to lift those strand.
The second set of stitches on Round 1 will always be offset or at an angle and must be worked thru the back loop. This is one of the idiosyncrasies of wrapped cast-ons, but you'll only need to work thru the back loop once.
Always remember when you are finished the stitches on one circular to pull it's point to the right allowing the just finished stitches to return to the cable.
This sounds like a "no-brainer" but make sure the working needle tip is the end of the cable you are working on and not the other needle. Yes, it can happen and makes a mess.
After working a couple of rounds you may see a bumpy misshapen stitch or knot. This is normal. Gently snug up the yarn tail on the wrong side and the little lump will disappear.
Other Uses For The 2-Circular Method
Isn't this amazingly simple? Aren't you glad you learned? Now you can use this 2-circular method on any small spaces. Think hats, sleeves, baby items, toys.
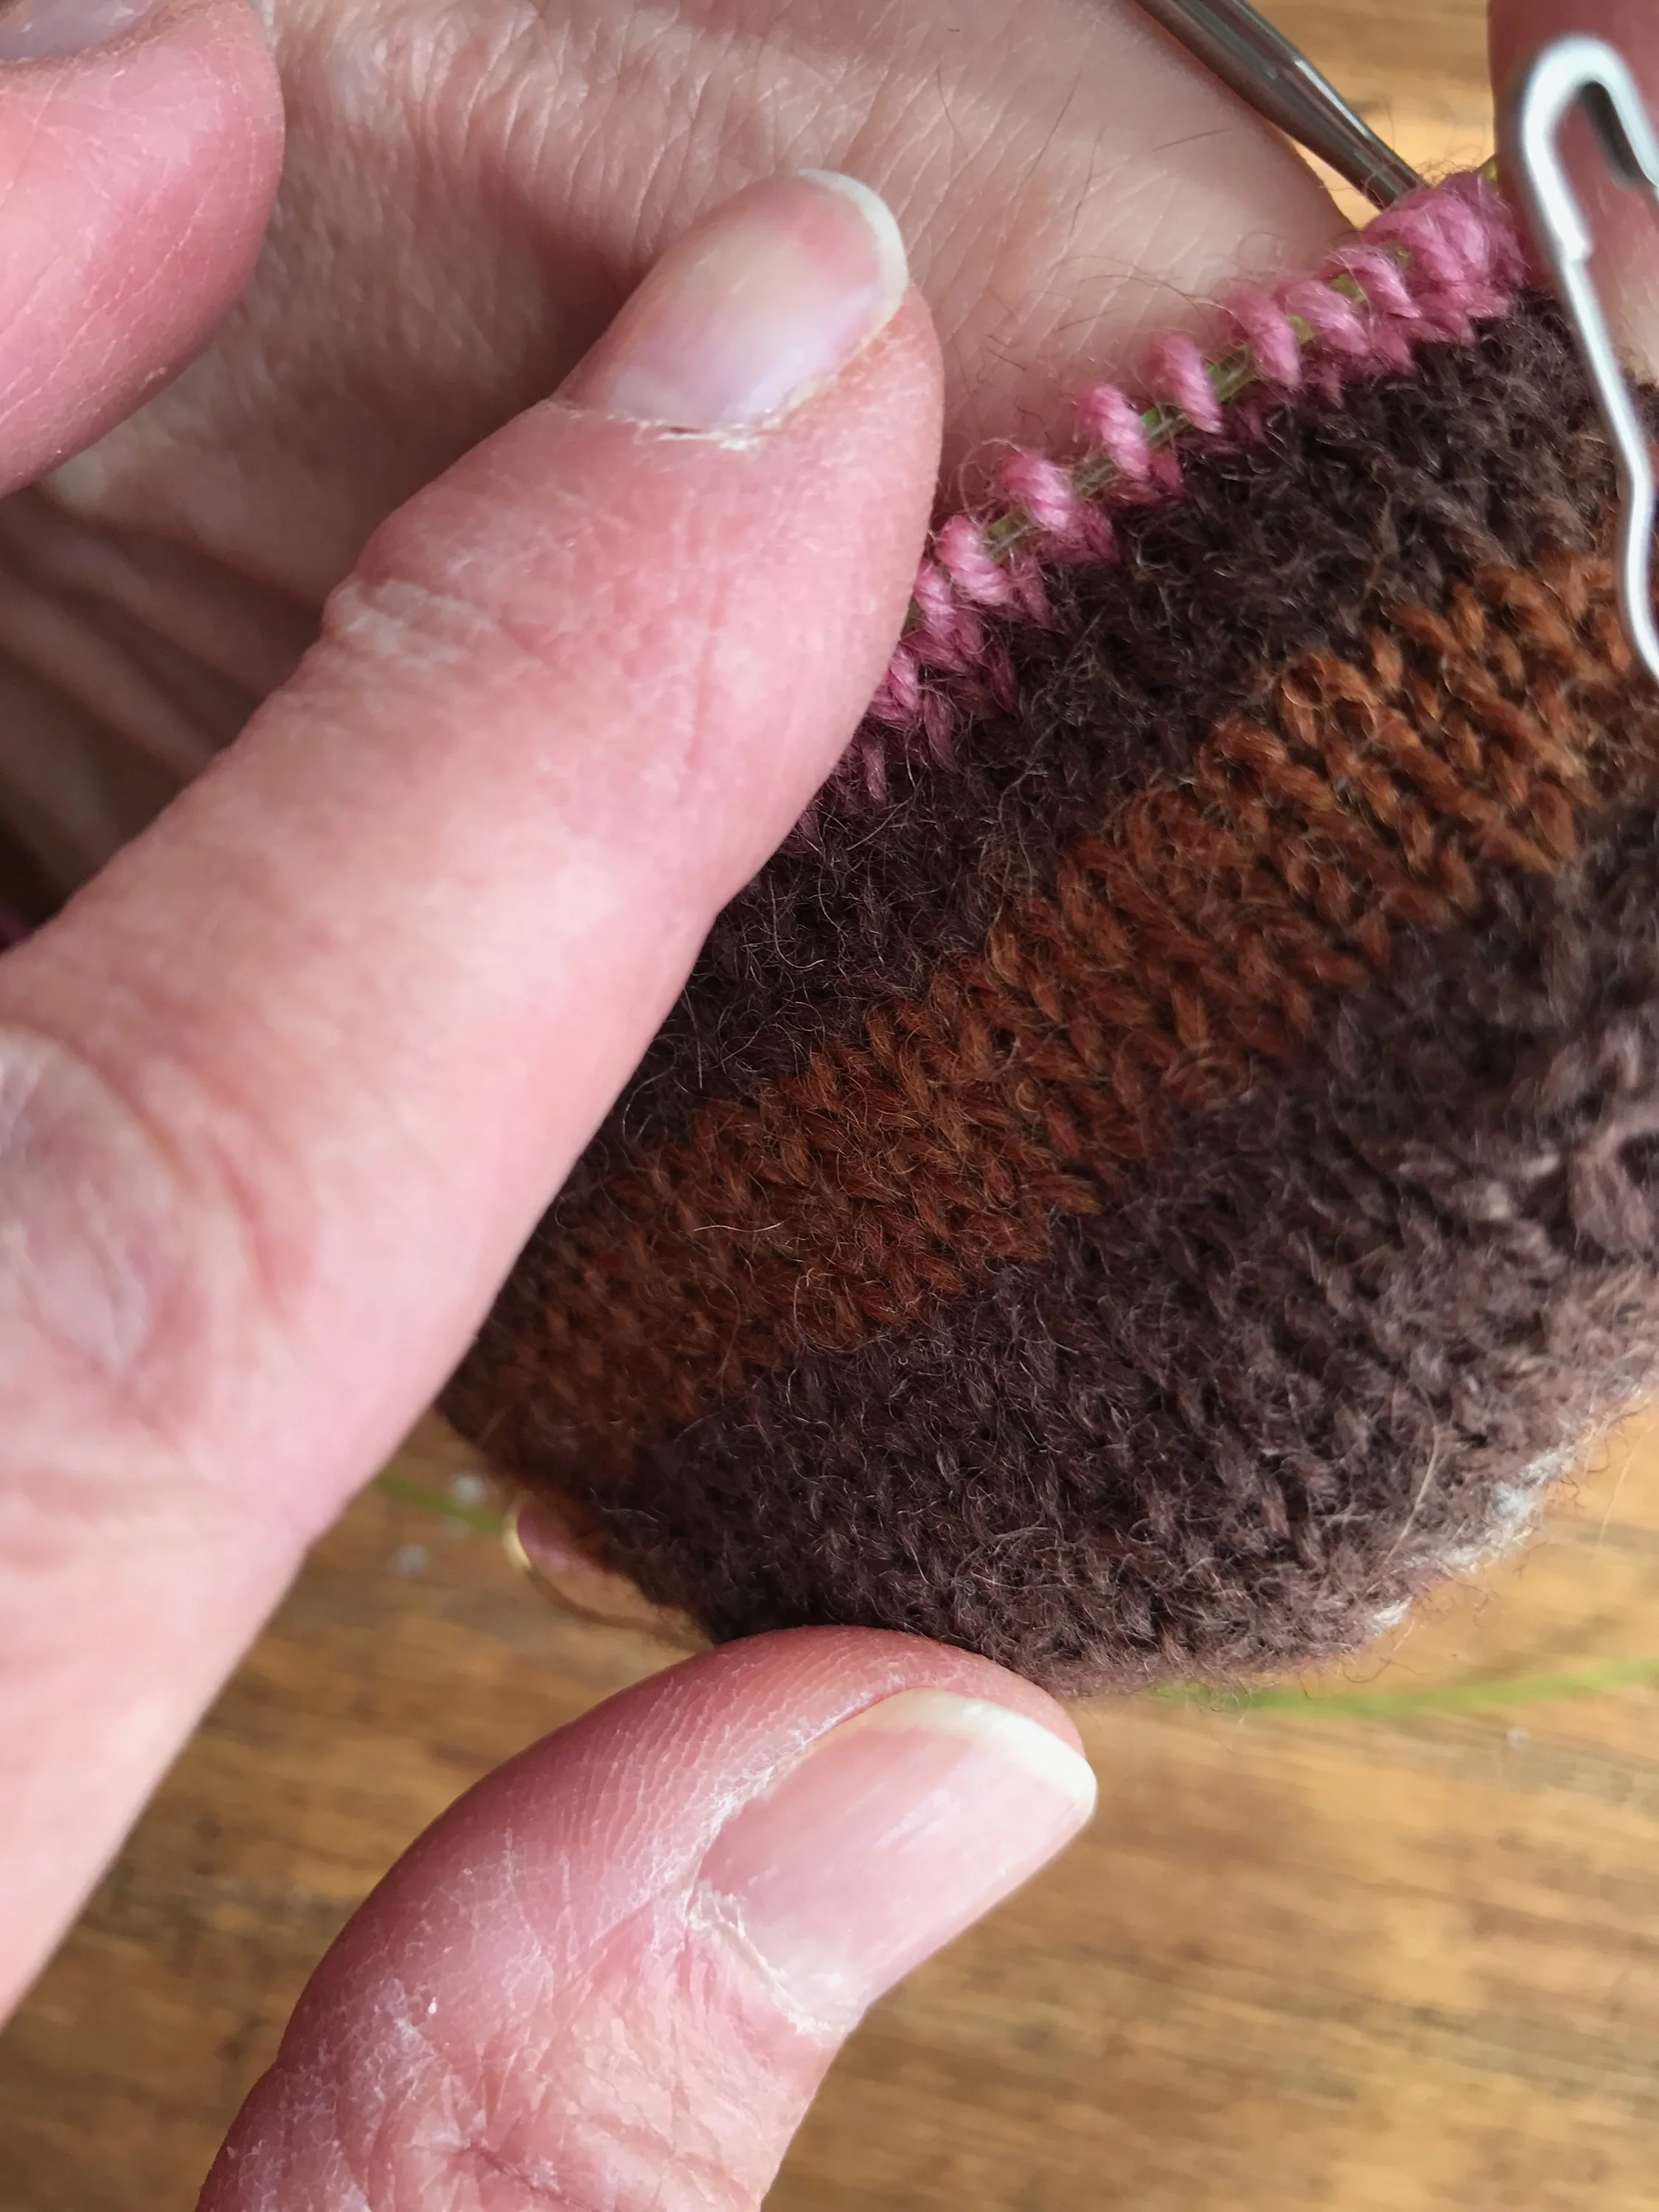
You'll also notice as your sock continues to grow that there is no "laddering" or misshapen stitches as you get when transitioning from one double point to another. Look how pretty this toe looks.

Toe of the Bottoms-Up Sock
Working The Toe
Continue to glide from Needle #1 to Needle #2 and work those increases and toe stitches until you get to the magic number of 60.
Re-positioning Markers
If your markers are getting in the way of your increases, you can move them to a position one stitch in on each needle or pin to the work itself. At this point they are merely serving as signposts for which needle you are on and do not mark a particular stitch. That comes later...You'll see in the images that I've moved mine.
Check For Fit & Customizing The Toe
There's a reason shoes come in sizes and it's not much different when it comes to socks so let's check the fit.
Suzanne trying on toe
The image above shows our Yarngirl, Suzanne, trying on her sock. It's a perfect fit. But say your foot is wider or toes are longer then what?
For a wider toe or deeper toebox, continue adding additional increase rounds until the toe is the proper width and depth.
Keeping the stitches on the cables while trying on will be ok unless you really need to stretch them or if you've decided to stick to your double points. Then, you will thread your finishing needle with scrap yarn and draw it thru the stitches. Try on and then return the stitches to the cables.

Working the Foot
Working The Foot
Now that we've done our increases and our toe is just right it's smooth sailing for the next several inches. Continue working around and around until your sock measures a total of 7 1/2 inches from the beginning of the toe or 2 inches less than your heel.
Check For Fit & Customizing The Foot
This is simple. Just try it on again and make sure you are 2 inches short of your heel. If not keep going until you are are the correct length.
Our Yarngirl, Suzanne's foot is 9". I'll be knitting to 7" for her. She's almost pattern perfect!
See how easy it is to knit the perfect sock for a friend. The only thing you'll need is their foot measurement from toe to heel!
Working The Heel Flap
This is the final step for today. Now we're ready to remove that second stitch marker and place our initial marker one stitch in from the 1st stitch or in the 1st stitch.
We'll be working on just one circular and on the 1st set of stitches These will form our heel. Our secondary circular will hold the instep stitches that we won't get to until next week!
"Easy Peasey" now. Work the heel flap rows as indicated in the pattern. Slip the 1st stitch purlwise on each row. When you have worked all 24 rows, sit back and ADMIRE!
Knitting Doctor Tip: Slip stitches are always slipped purlwise unless your pattern indicates otherwise. You'll find that in the stitch glossary or abbreviations, usually at the end of the pattern.
Now wasn't this easy? Wasn't it fun? Can't wait to finish?
If you said yes to any of the above (and I hope you do), join me here next week for Part 2 and Finale of Bottoms Up Knit Along!
How Do I Follow Along
All of the posts will be on the here on the NobleKnits Blog. Add a bookmark! Join the KAL group on Ravelry. Be sure to follow nobleknits on Instagram, Twitter, Tumblr, and Facebook. Use the hashtag #BottomsUpKAL to follow the knit along or post pictures of your progress.