Bottoms Up Knit Along: Day 2
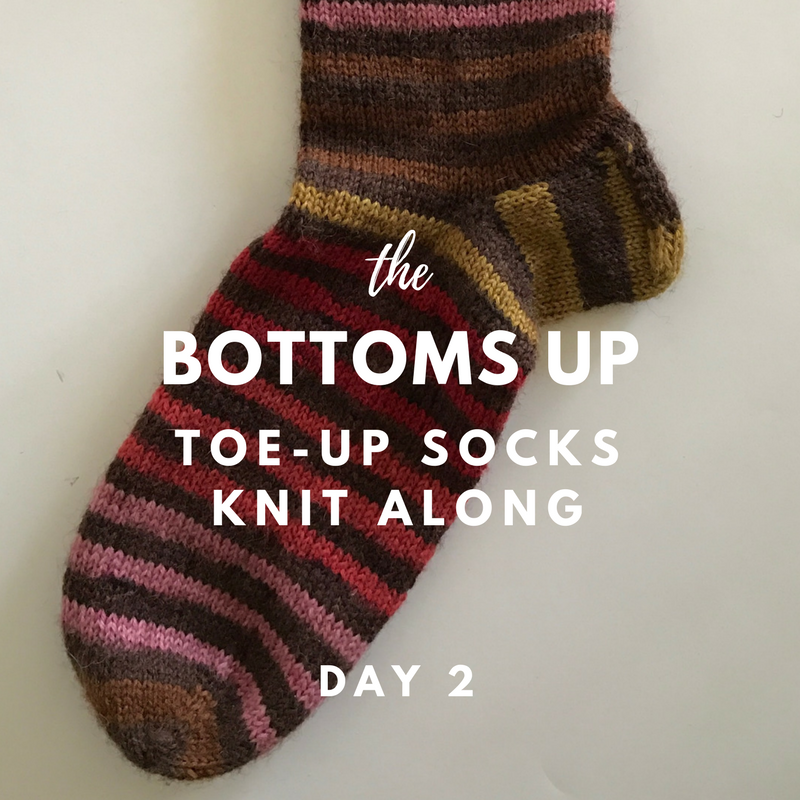
Bottoms Up Socks Knit Along: Day 2
Hello Knitters! Welcome back to Day 2 of the Bottoms UP knit along. We're finishing our toe-up socks. Kudos to each of you for mastering what I think is the perfect seamless sock cast-on, Judy's Magic Cast-On. It's a little tricky at first but once you get it, you won't use any other cast-on for socks.
We've also learned how small circular projects flow easily on 2 circular needles. We've used them to work our custom foot and finished the day working the heel flap too.
So, what's up next?
What We'll Learn Today
The Turkish Heel
Turning the heel
Working the heel with a modified stitch count
Picking up stitches and joining the instep
Working the leg and ribbing
Jenny's Surprisingly Stretchy Bind-off
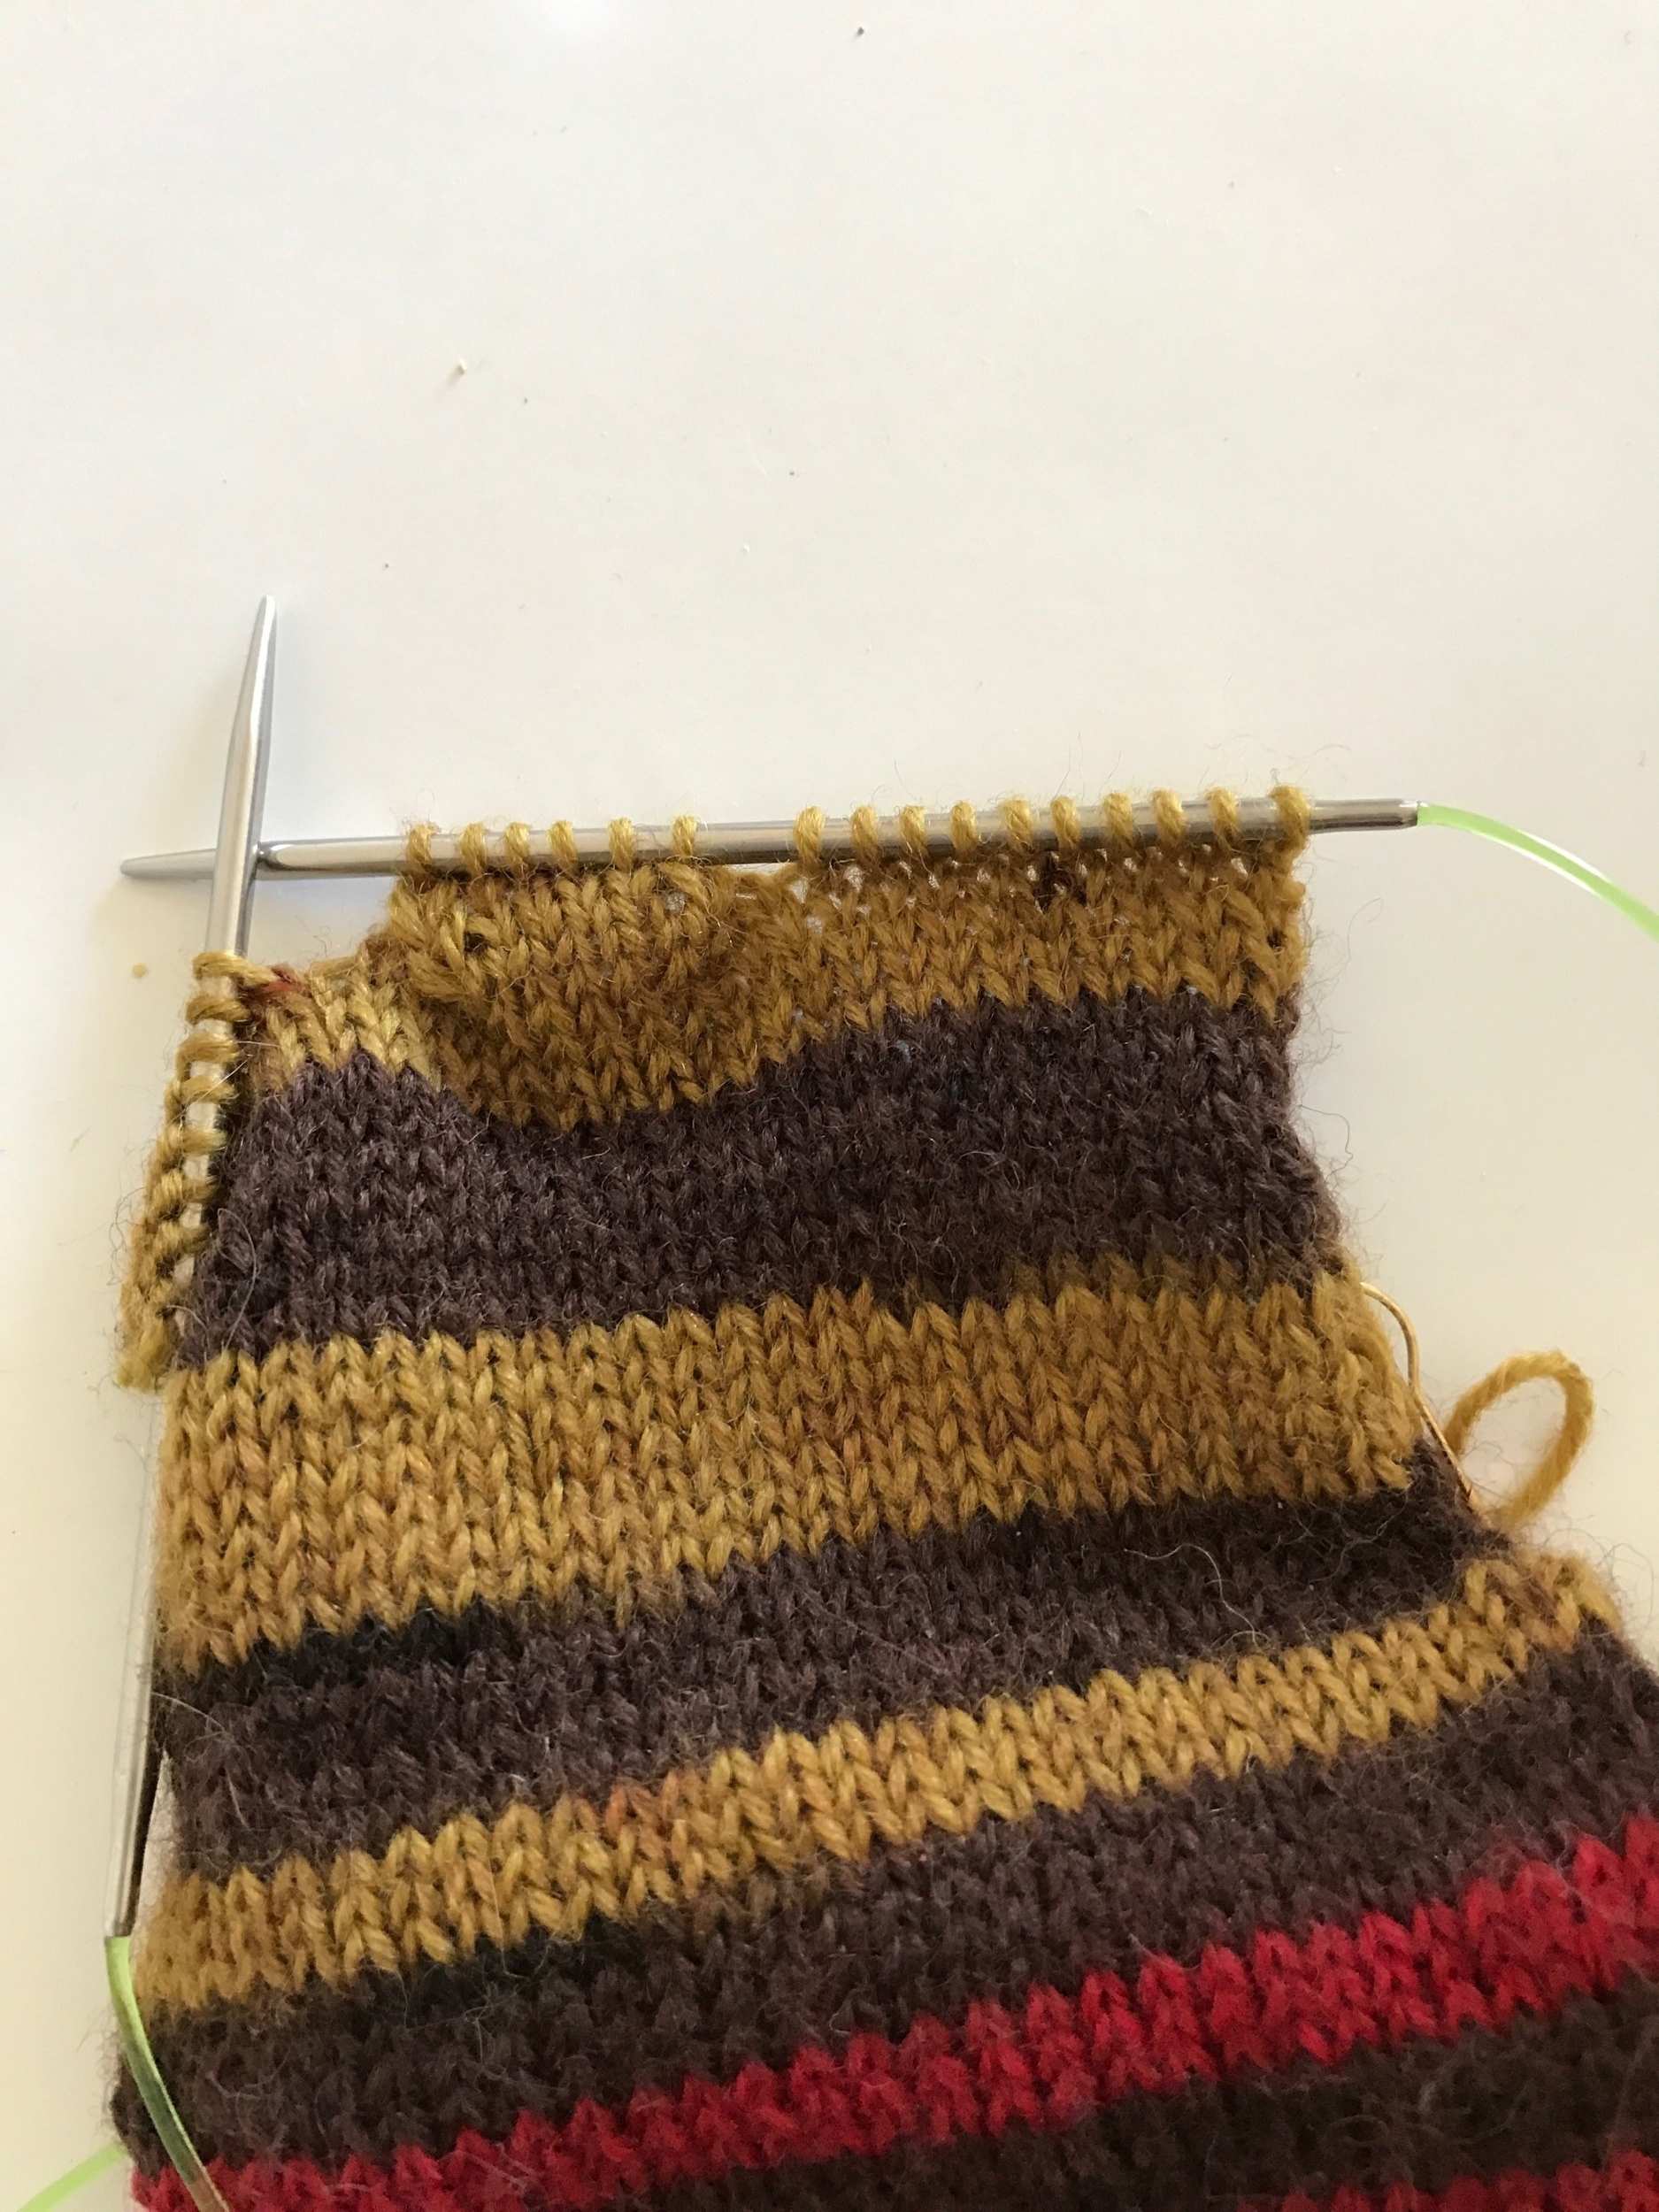
Here's Where We Left Off - Working The Heel Flap
The neat slipped stitch edges on the heel flap will make picking up stitches a breeze and set us up for what comes next.
Turkish Heel
We're going to building this heel next and it is certainly going to look different from the traditional heel you are used to seeing. This heel has a central elongated tab and instead of gussets, stitches are picked up from the sides of the heel flap we just created creating a nice continuous flow of color, especially effective with self-patterning and striping yarns.
So let's get started!
How To Turn The Heel
Before knitting my first pair of socks I was both fascinated and frightened by the phrase "turning the heel". Anything that sounds like that just has to be hard. Well, as you'll see in a minute it isn't. Essentially, we are going to be building a little cup or shelf for our heel to rest in. We'll build our shelf by working our 1st row a little past the center then back and forth knitting or purling together 1 stitch outward each time, until we have worked all the stitches.
Here we go!
Follow These Steps To Turn The Heel
Worked Over 30 Stitches
In case you made a modification - After the initial toe try, on a few folks required a smaller sock and modified their stitch count. Most have decreased their count to 26 stitches on each needle and I have included modifications to the heel turn below. Worked Over 26 Stitches - revised stitch count shown in ( ) below.
Row 1 (RS): K17, (15) ssk, turn.
Row 2: Sl 1, p4, p2tog, turn.
Row 3: Sl 1, k4, ssk, turn.
Row 4: Sl 1, p4, p2tog, turn.
Rep last 2 rows until all heel sts are worked – 6 sts rem.
Keeping On Track
It's easy to miss a sl1 at the beginning of a row and you may not catch it until your heel does not work out. Here's how to stay on track.
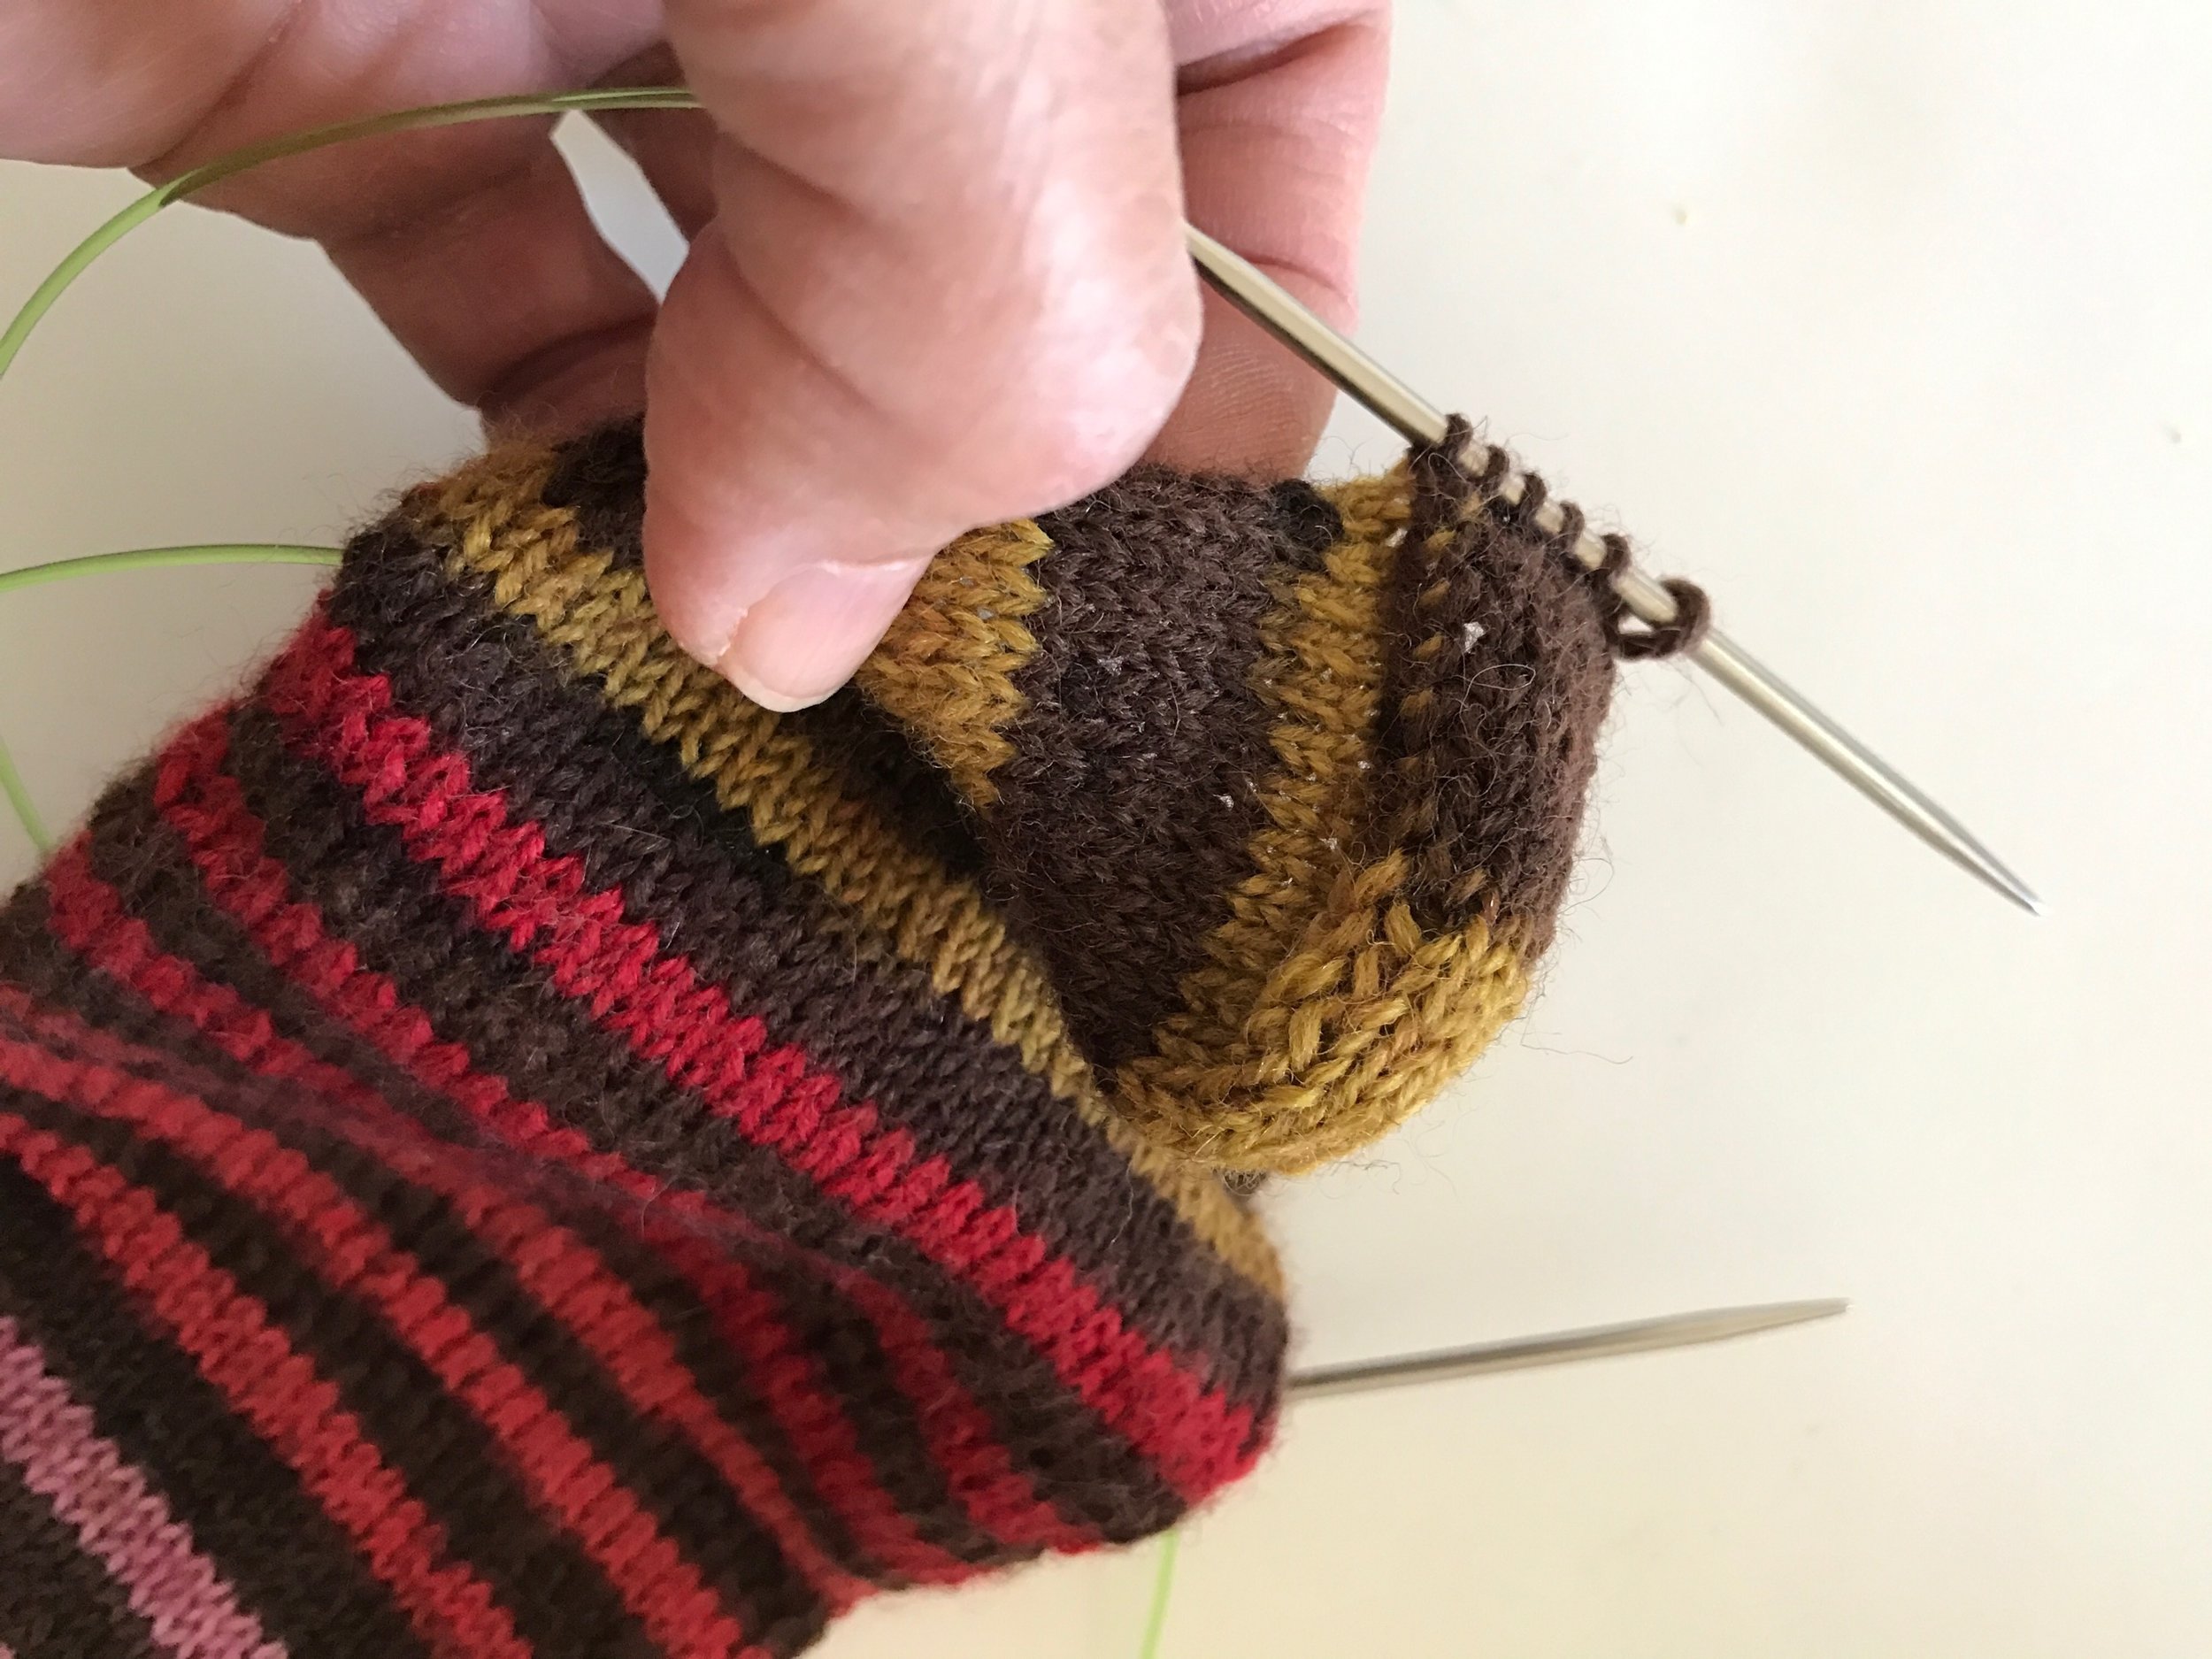
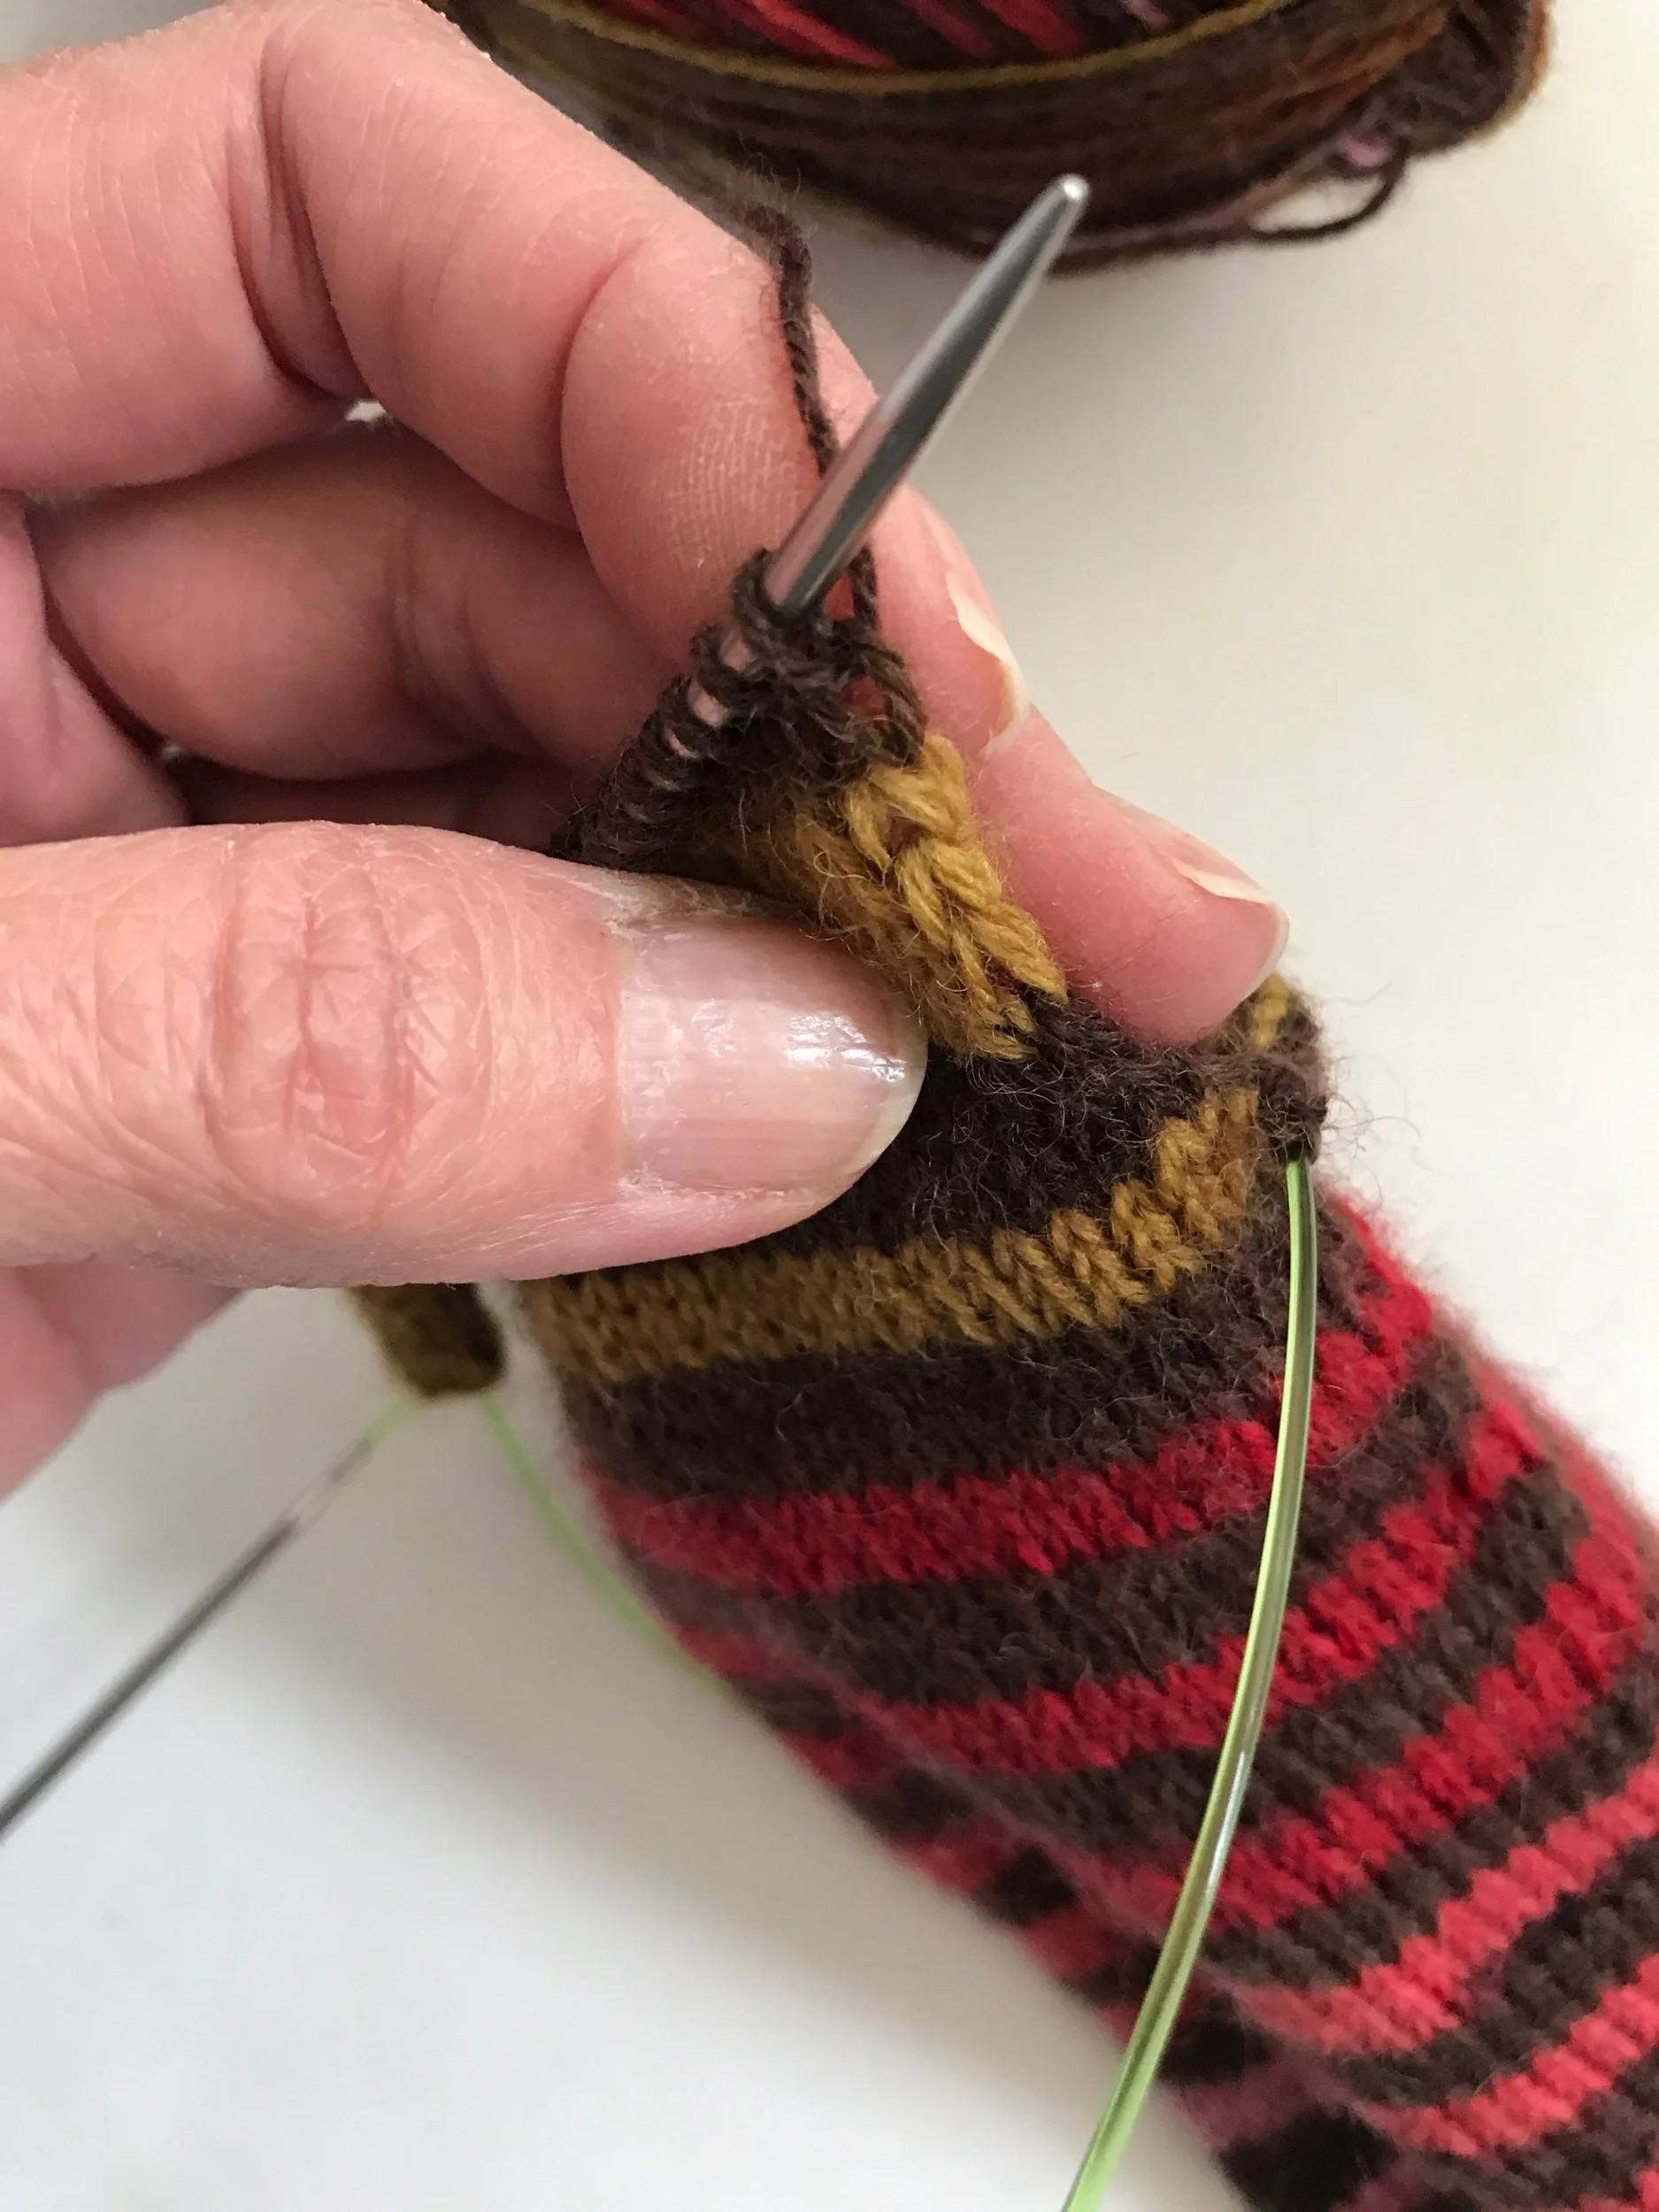
After working Row 1 and turning you will see a gap in your stitches (image above, left) Great! That's right. You need to see that gap each row. When we work our 4 stitches, that will put us one stitch before the gap. Working that next stitch and the following one together (as a ssk or a p2tog) closes the gap and moves us 1 stitch toward the edge. What that all means is that with this method, we are working from the middle out and adding depth to the middle.
Another good way to check is as you are ready to start a right side row, count the number of unworked stitches at each end. They should be the same (image above, center)
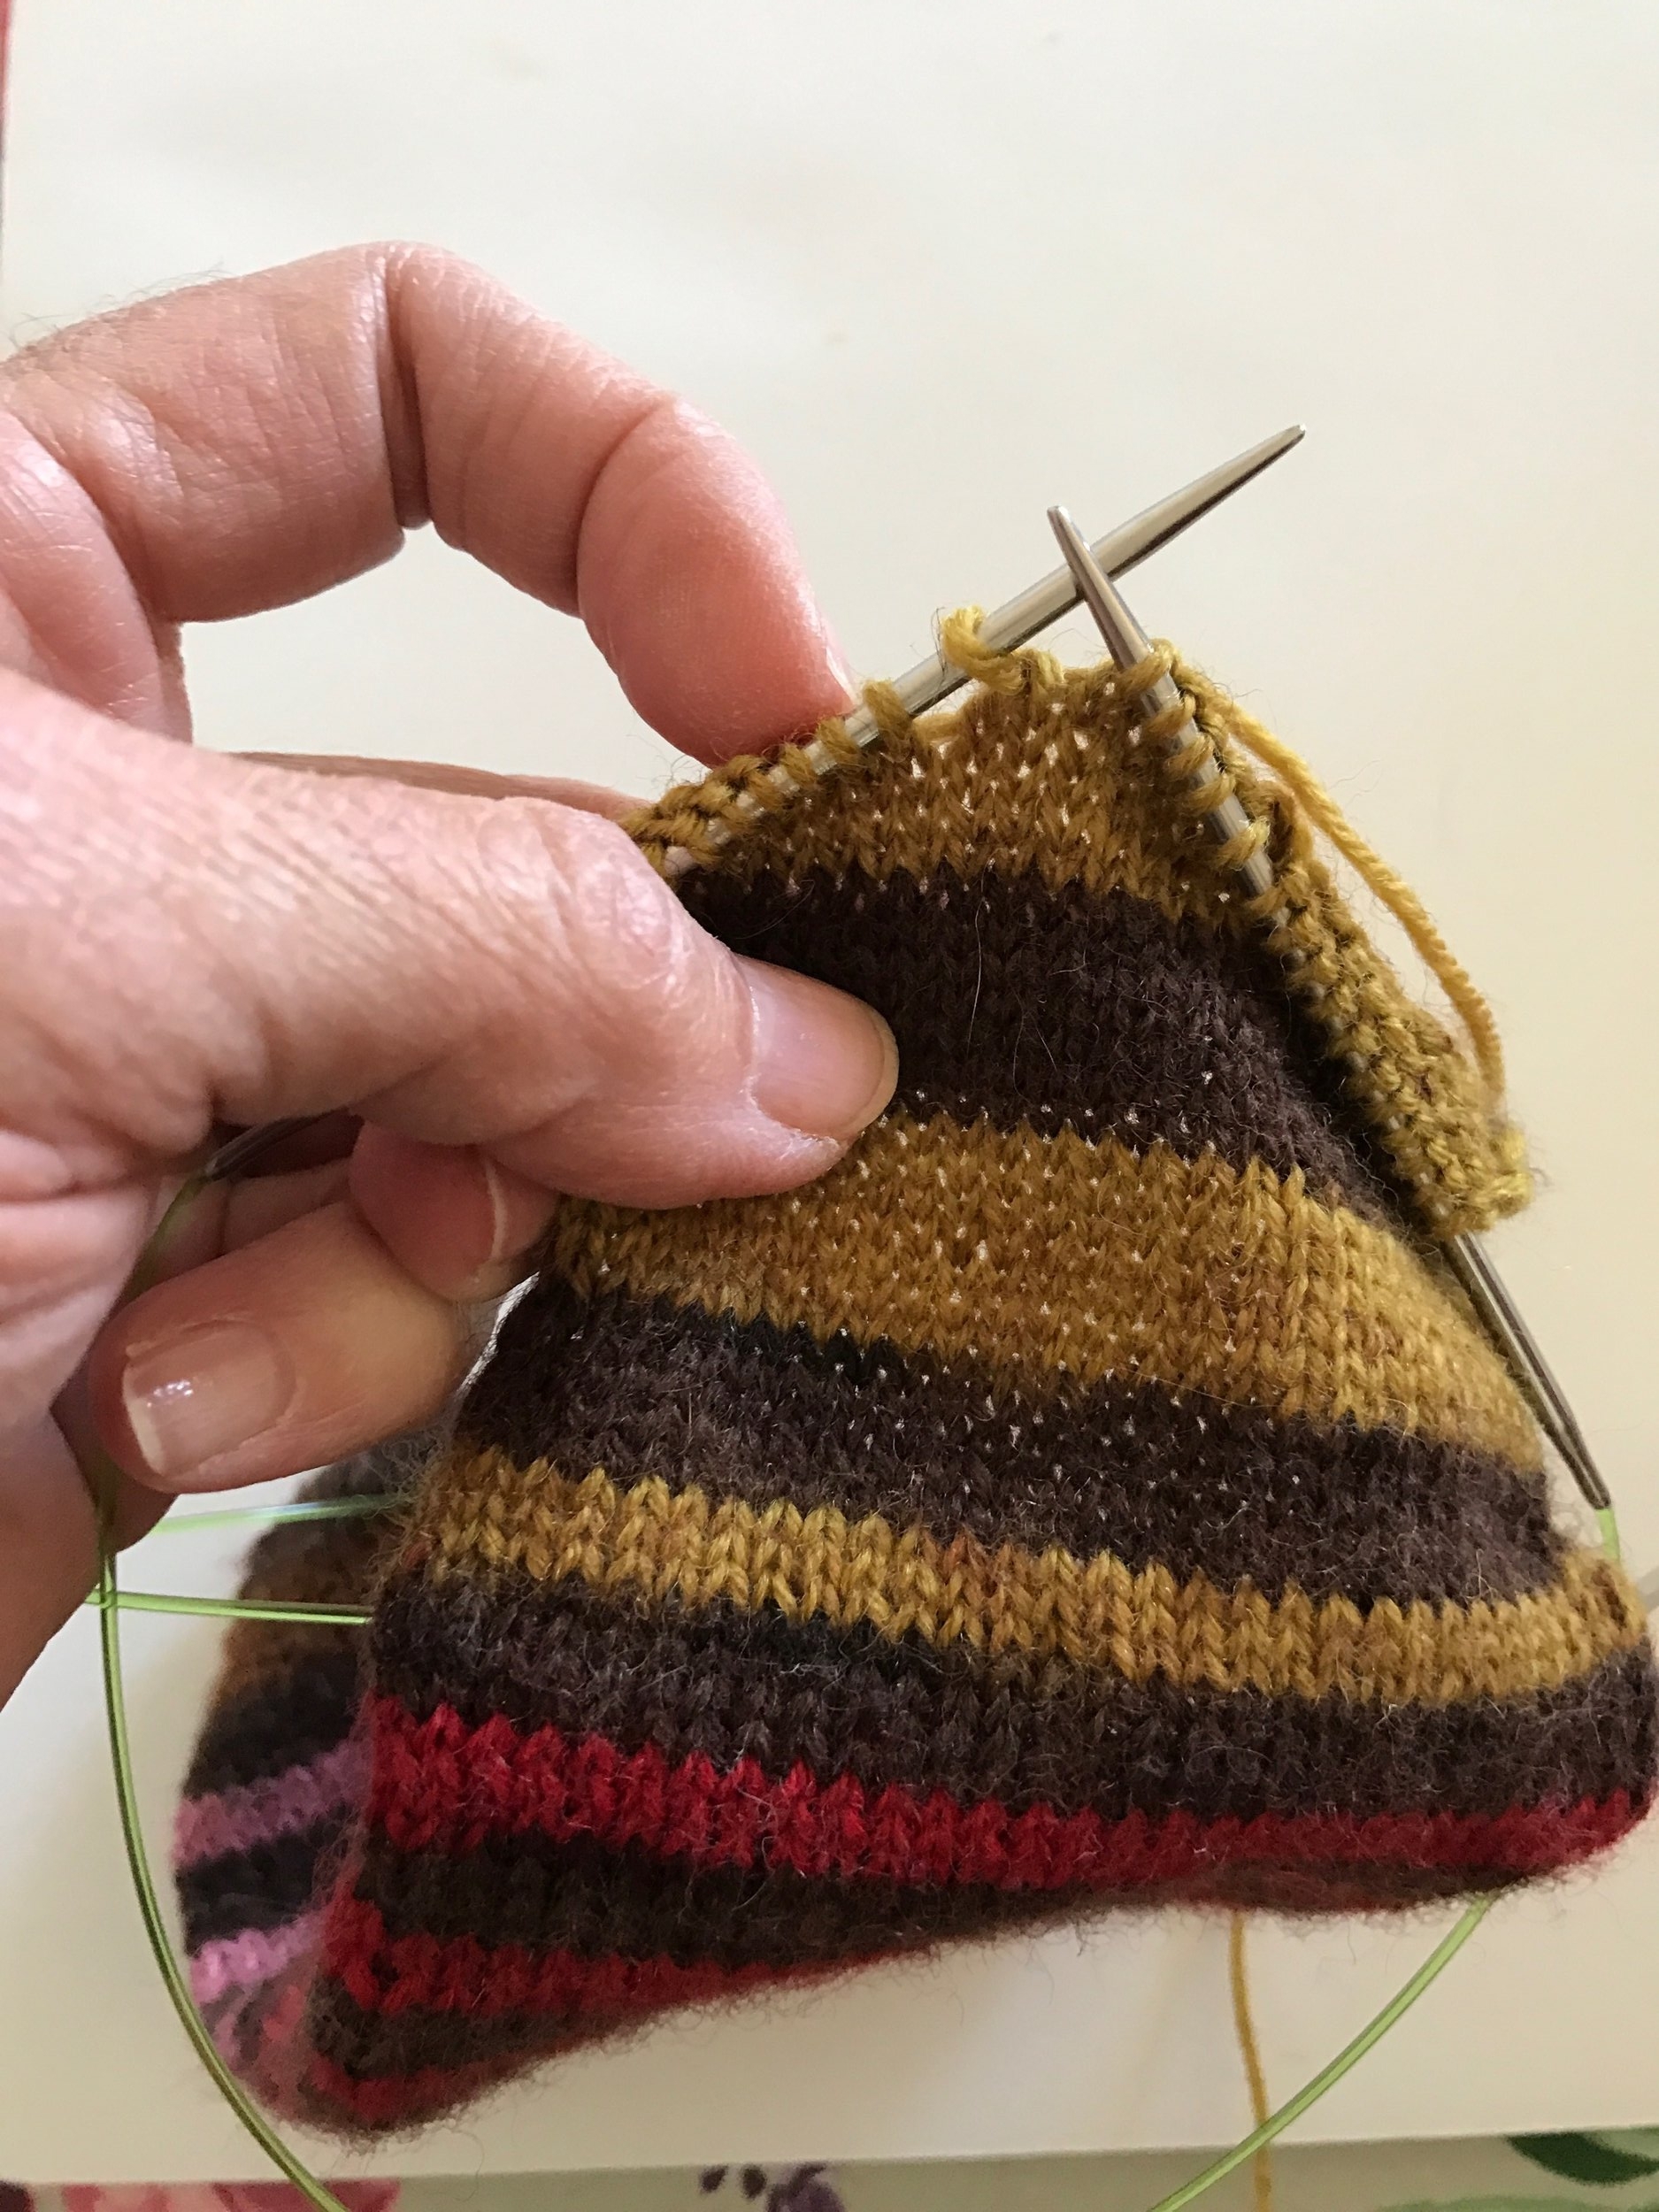
Now let's take a look at what we've created. Our turned heel should look like this (image above, right)
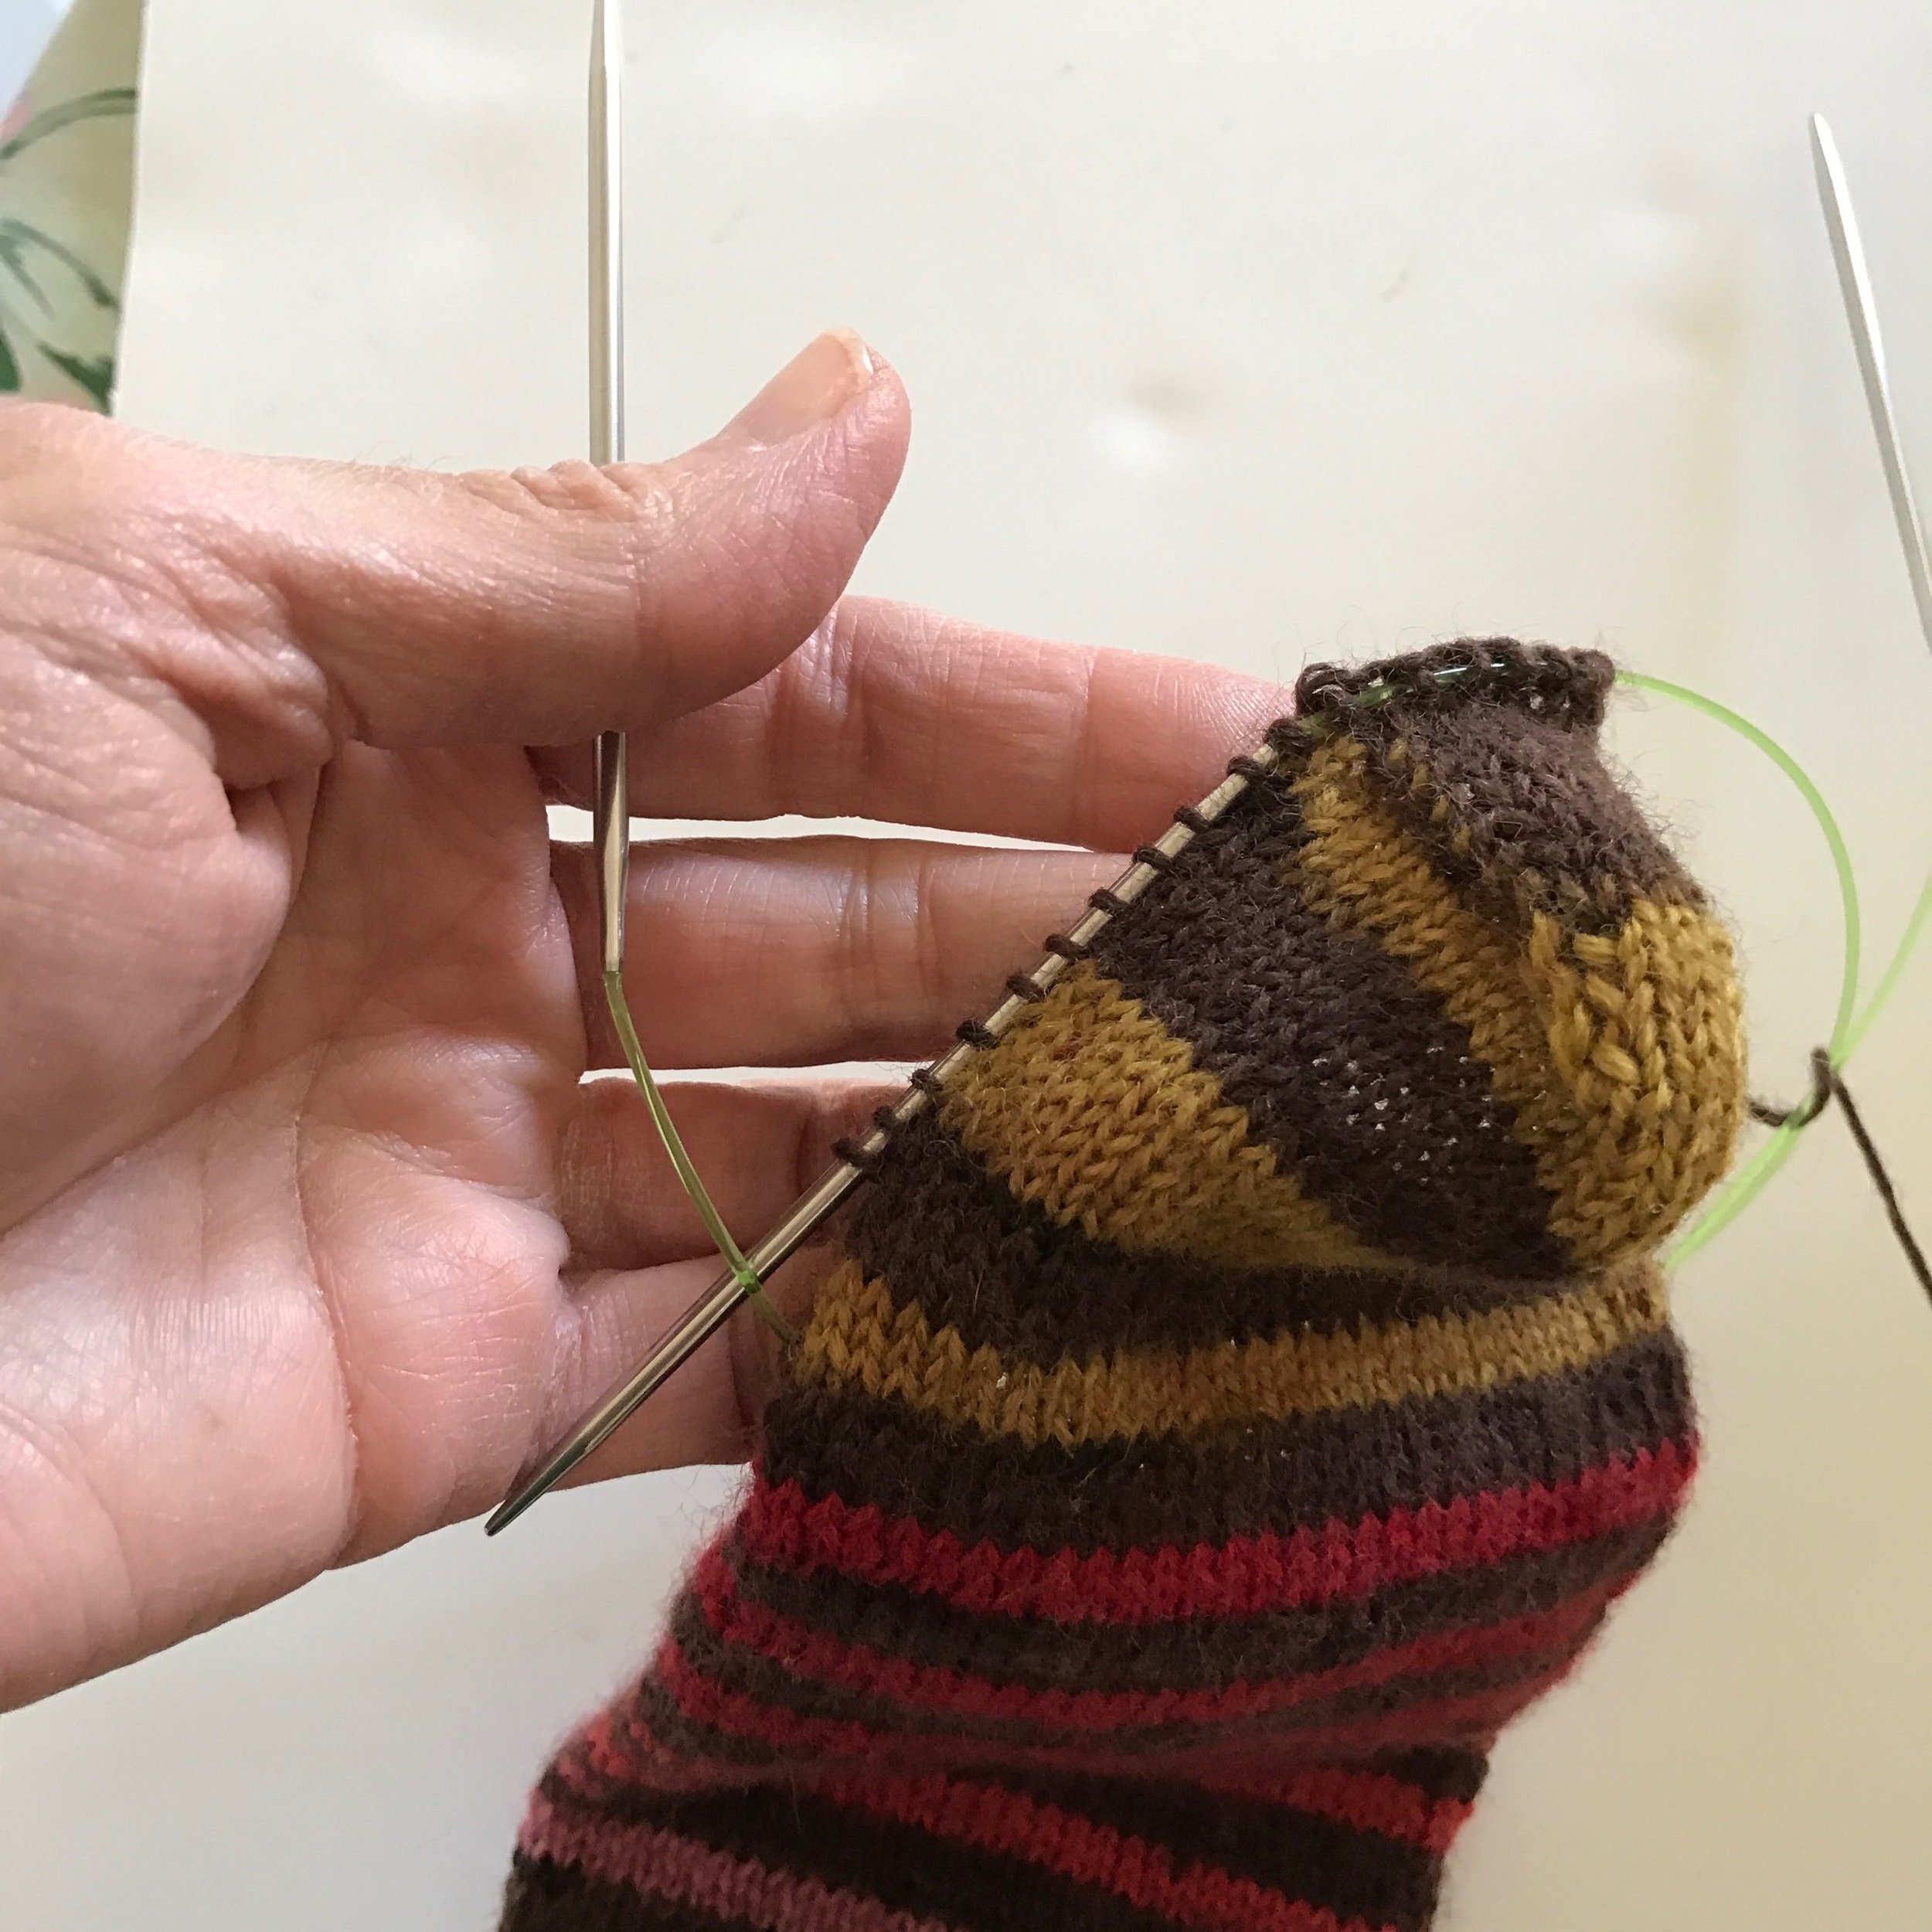
Picking Up Stitches
Looking at the pattern Round. 1 under "Leg" section tells us how we are going to pick up (Image below, left) stitches to finish off that flap and heel. Once again, for the smaller size, use the numbers listed in ( ).


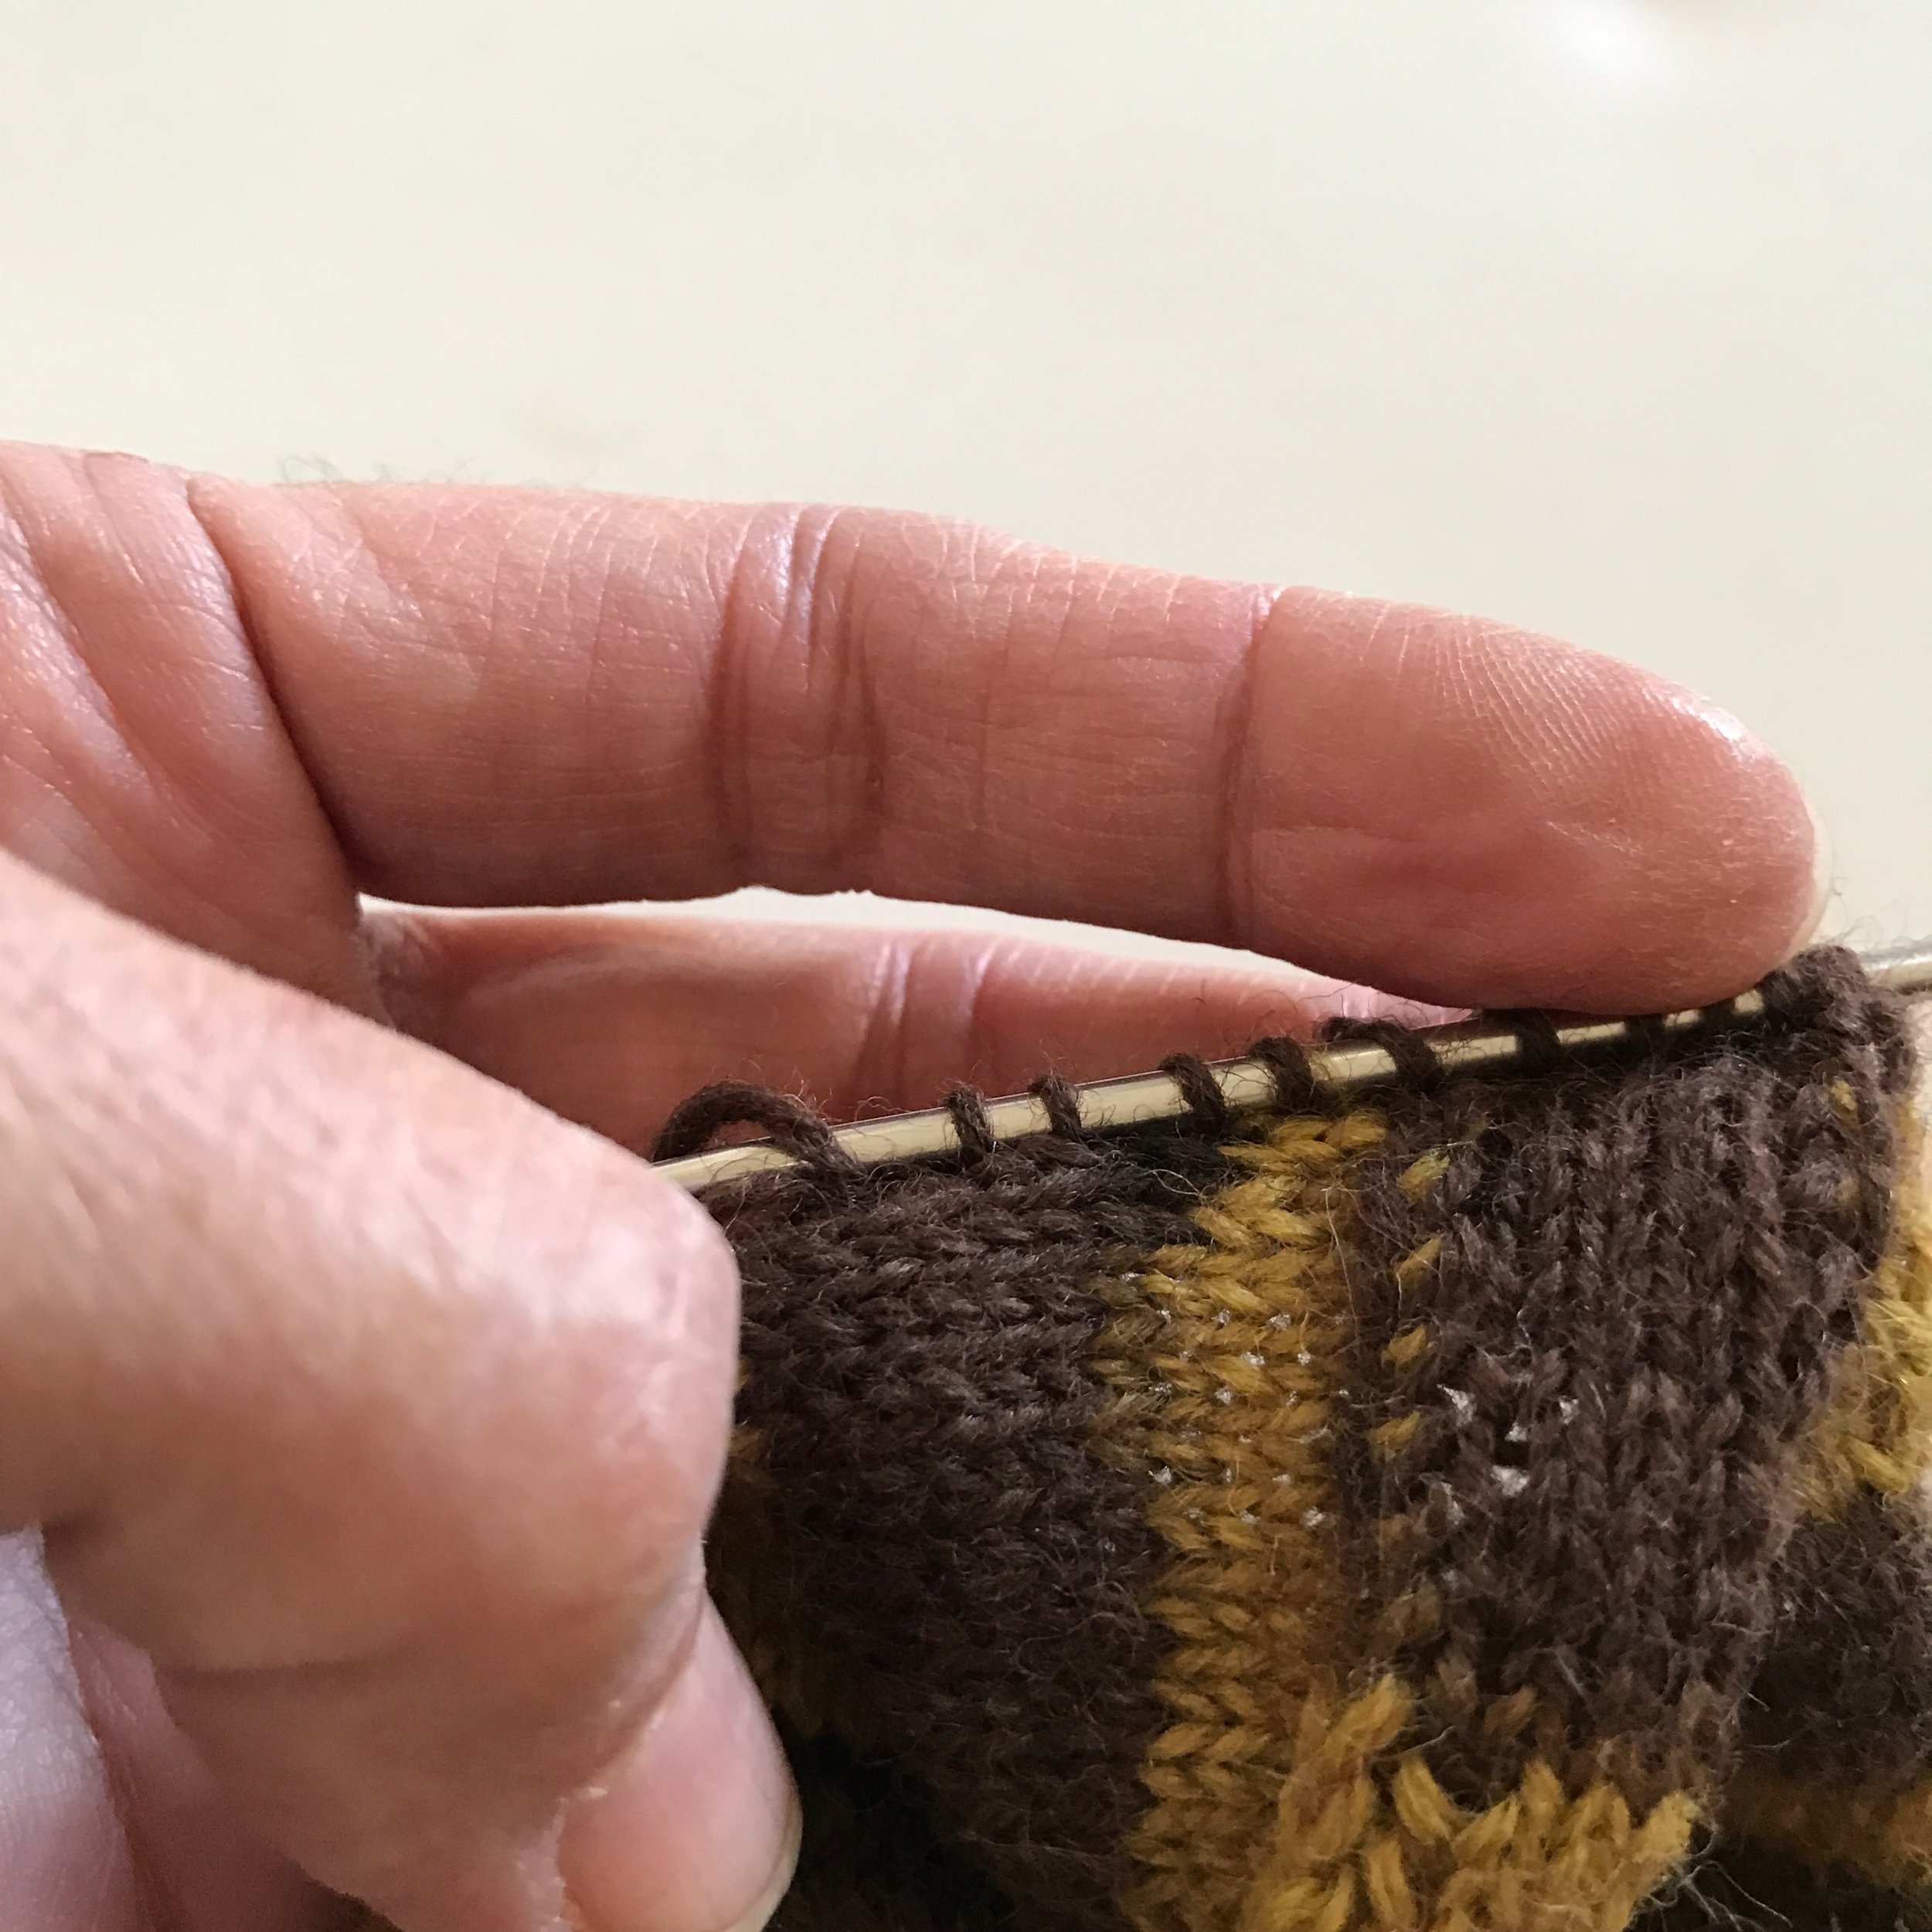
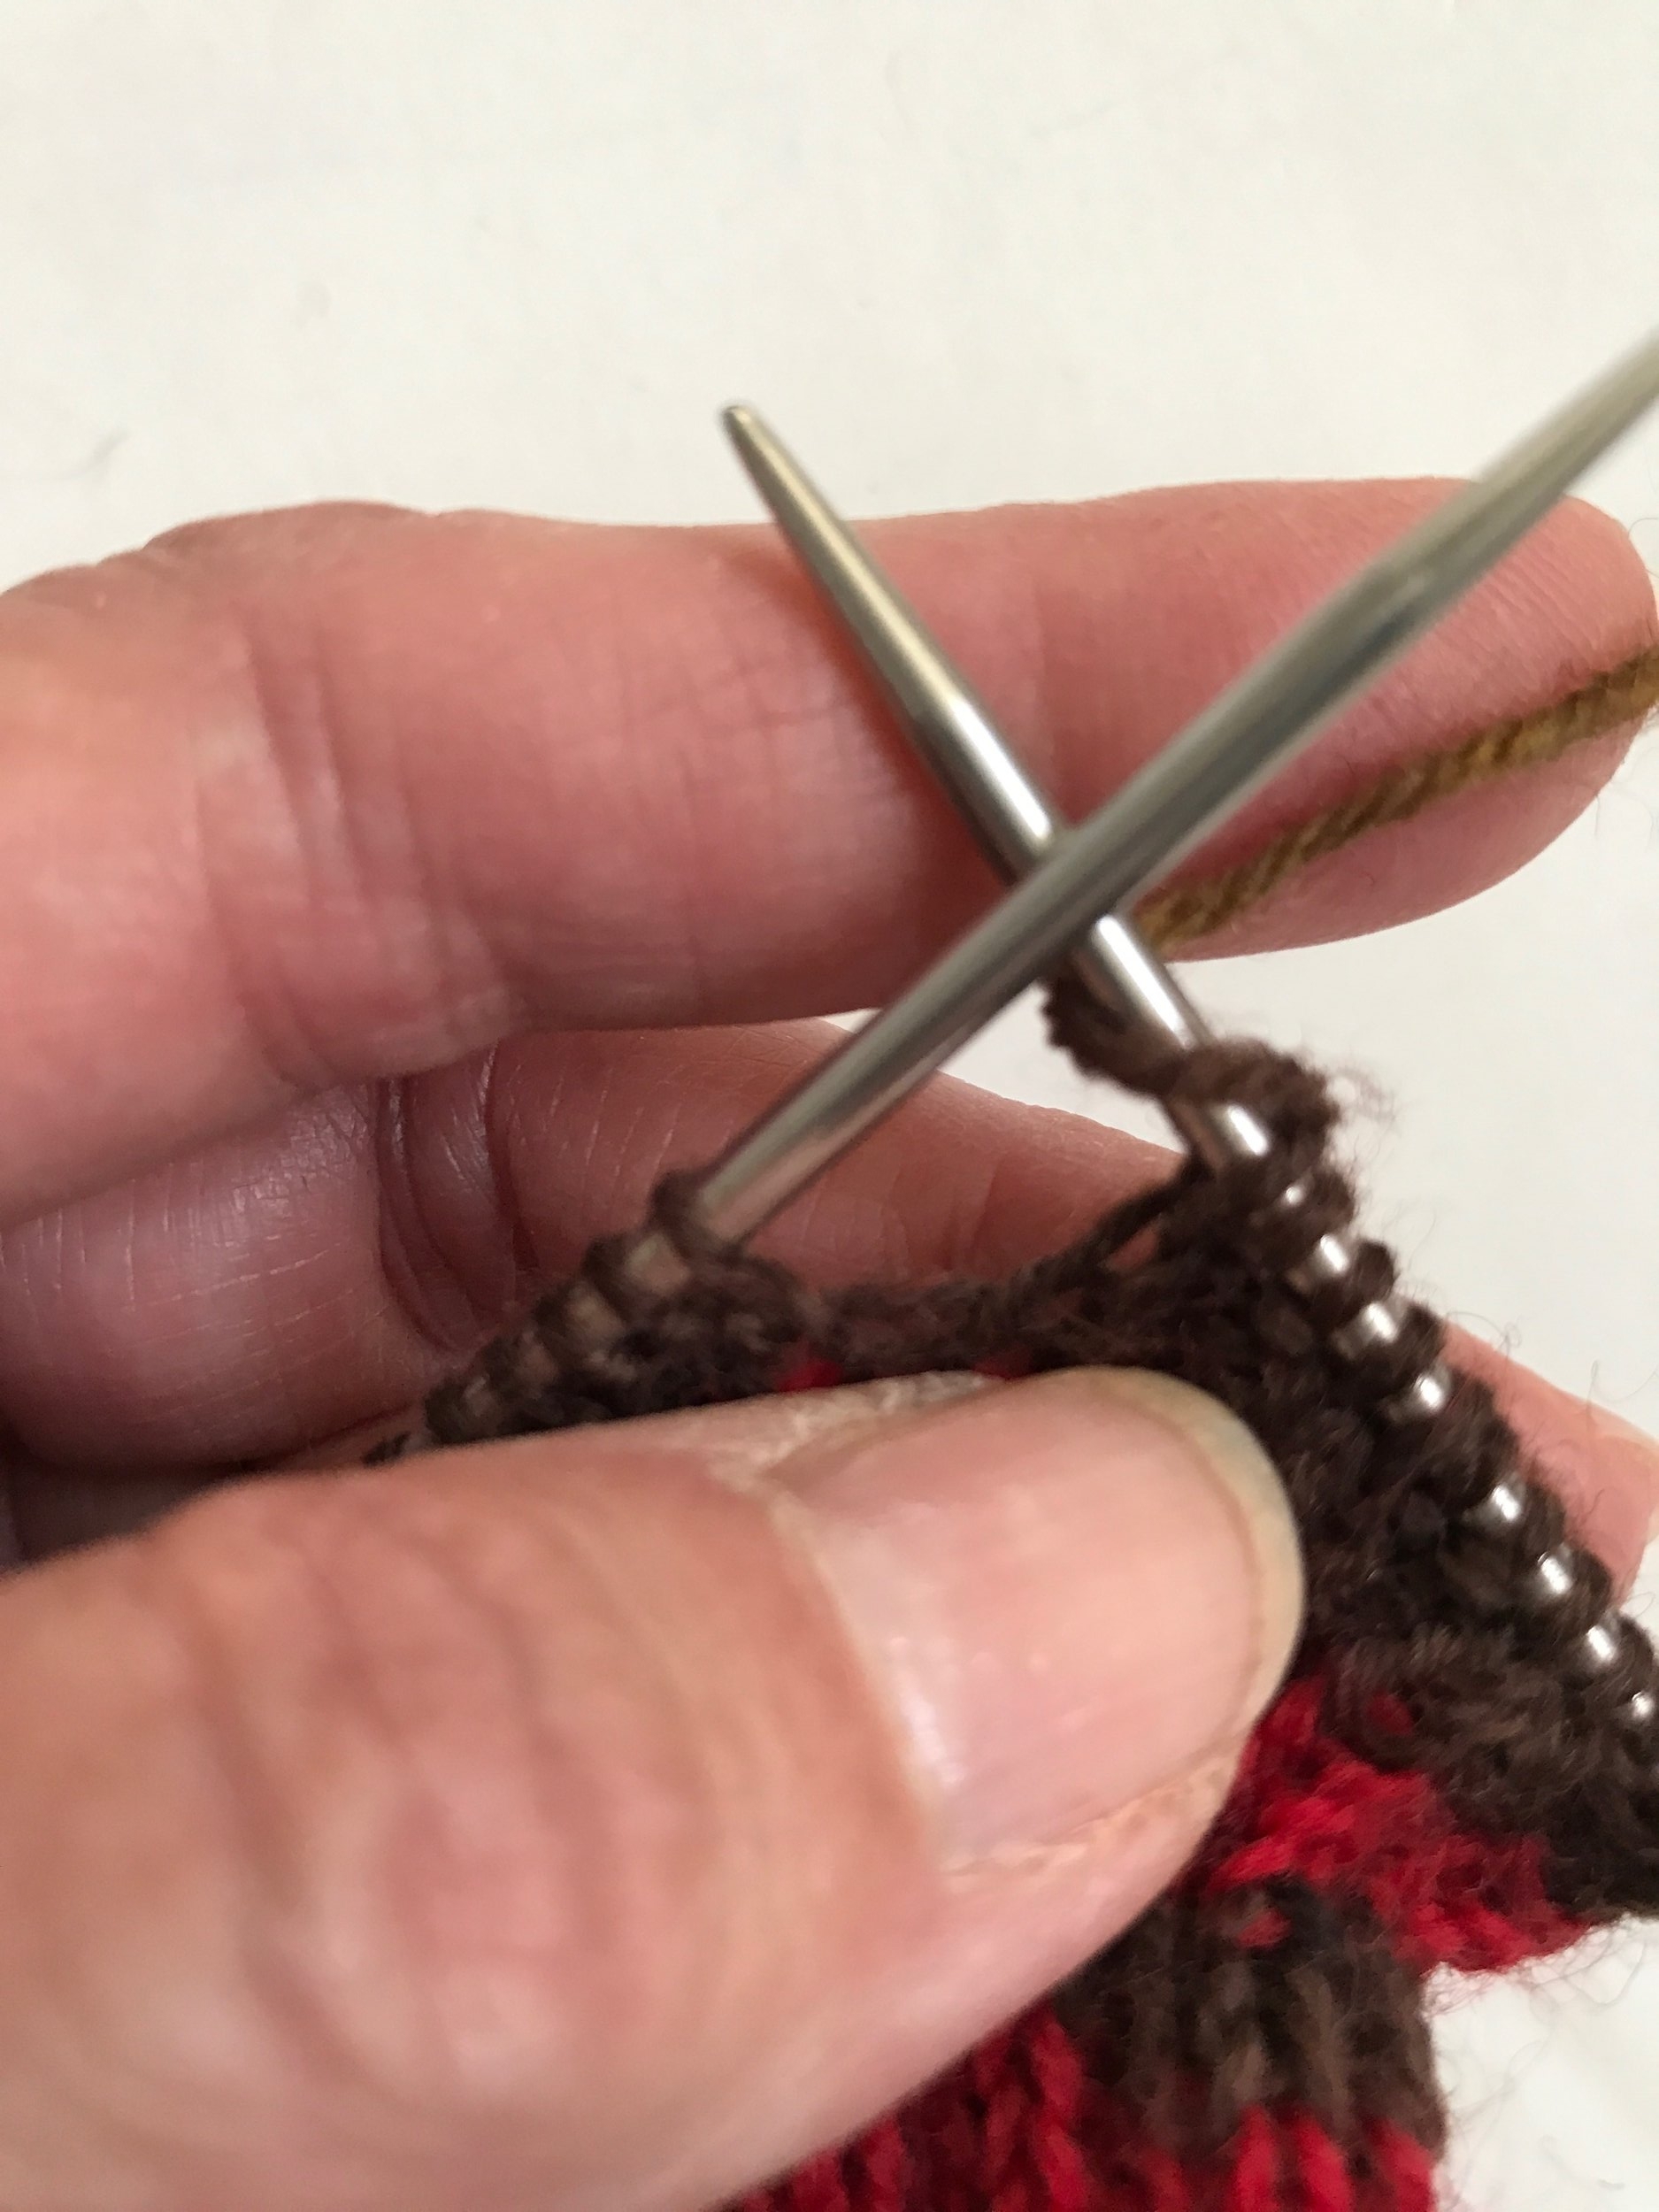
Final Edge Stitches
We've worked our 6 heel stitches, picked up the 1st set of edge stitches on Needle 1 and worked the instep stitches on Needle 2 (image above, left). Now it's time to pick up the final edge stitches as follows (image above right).
Pick up 12 (10) edge stitches and mount them on Needle 2 (they go on right after the instep stitches).
After picking up the final edge stitches temporarily slide those 12 (10) onto Needle 1. Then take the other tip of Needle 1 and transfer them there. The working yarn will then be in the right position to continue on.
Place marker and continue working in the round.

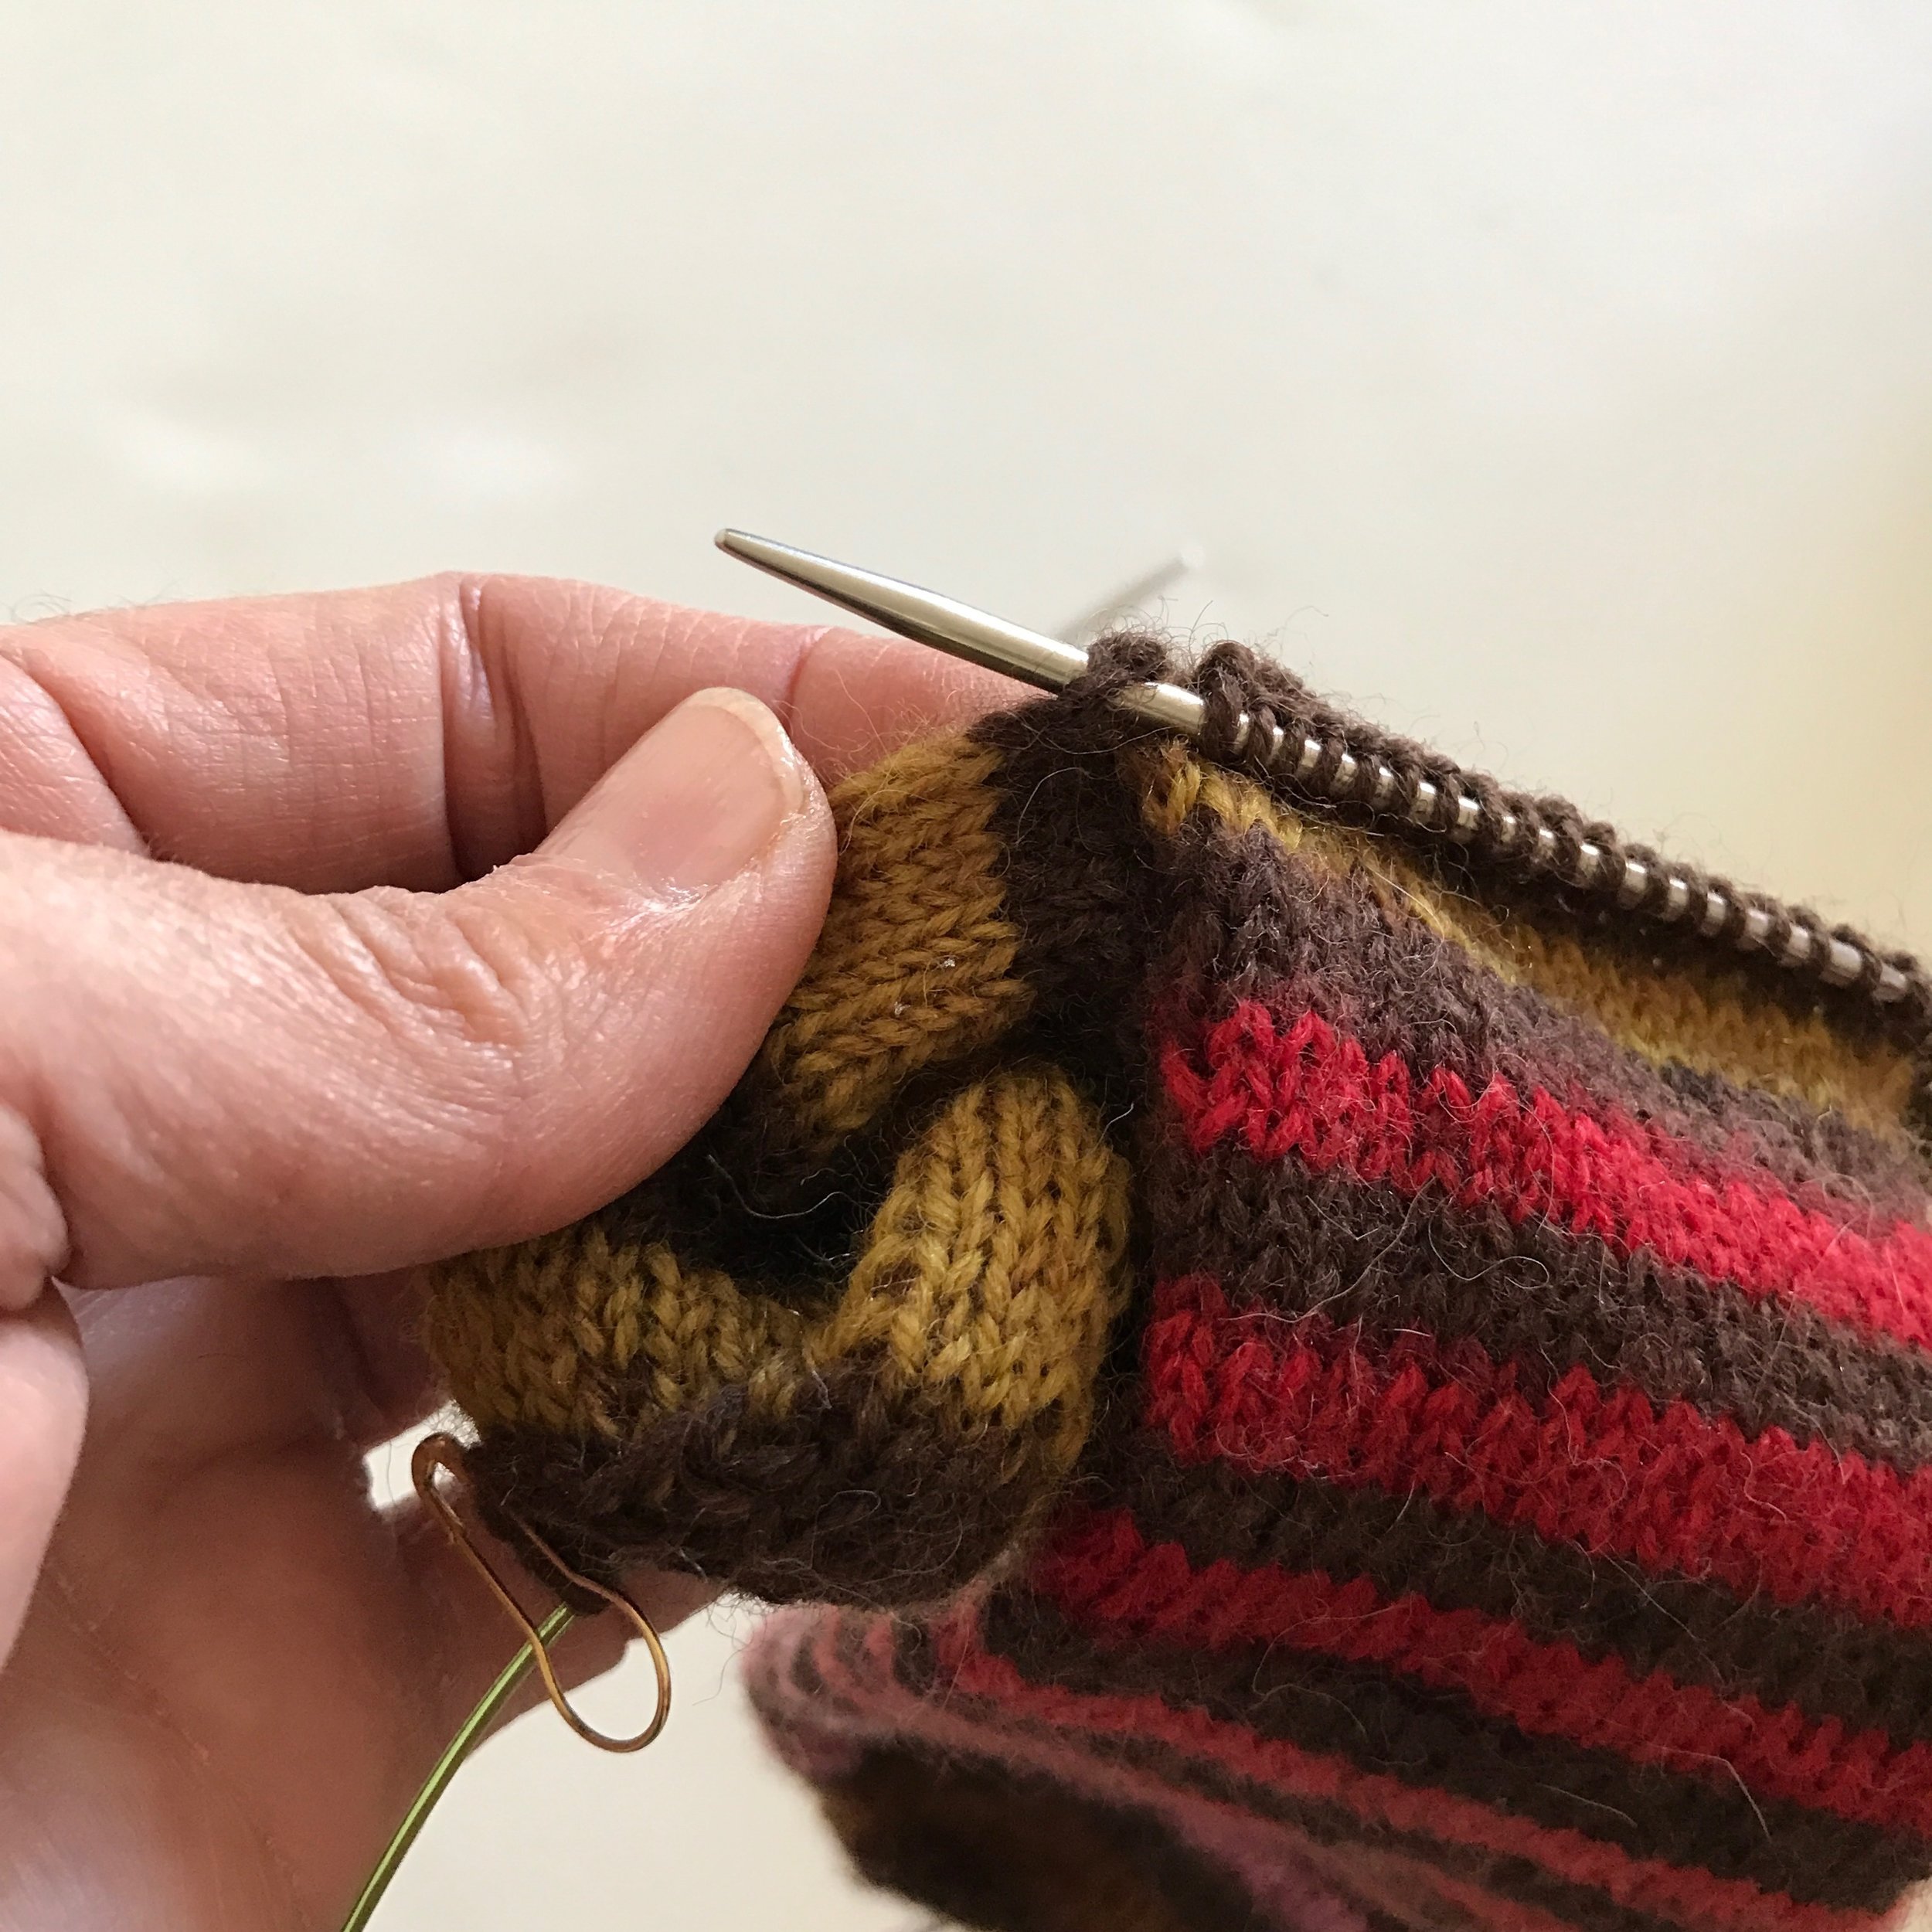
Back to the beginning
Now we're back to 30 (26) stitches on each needle and our heel is finished with no cutting and rejoining of yarn (image above). How easy is that?
Leg & Ribbing
Now this is easy. Work the leg for 6" then rib for 2".
Jeny's Surprisingly Stretchy Bind-Off
This is very cool and a great stretchy finish to your socks and it can be done on a ribbed bind-off as well as a straight knitting bind-off.
Let's go to the pattern and read the instructions. Pretty simple but I'd like to add a couple of things.
Knit the first stitch then:
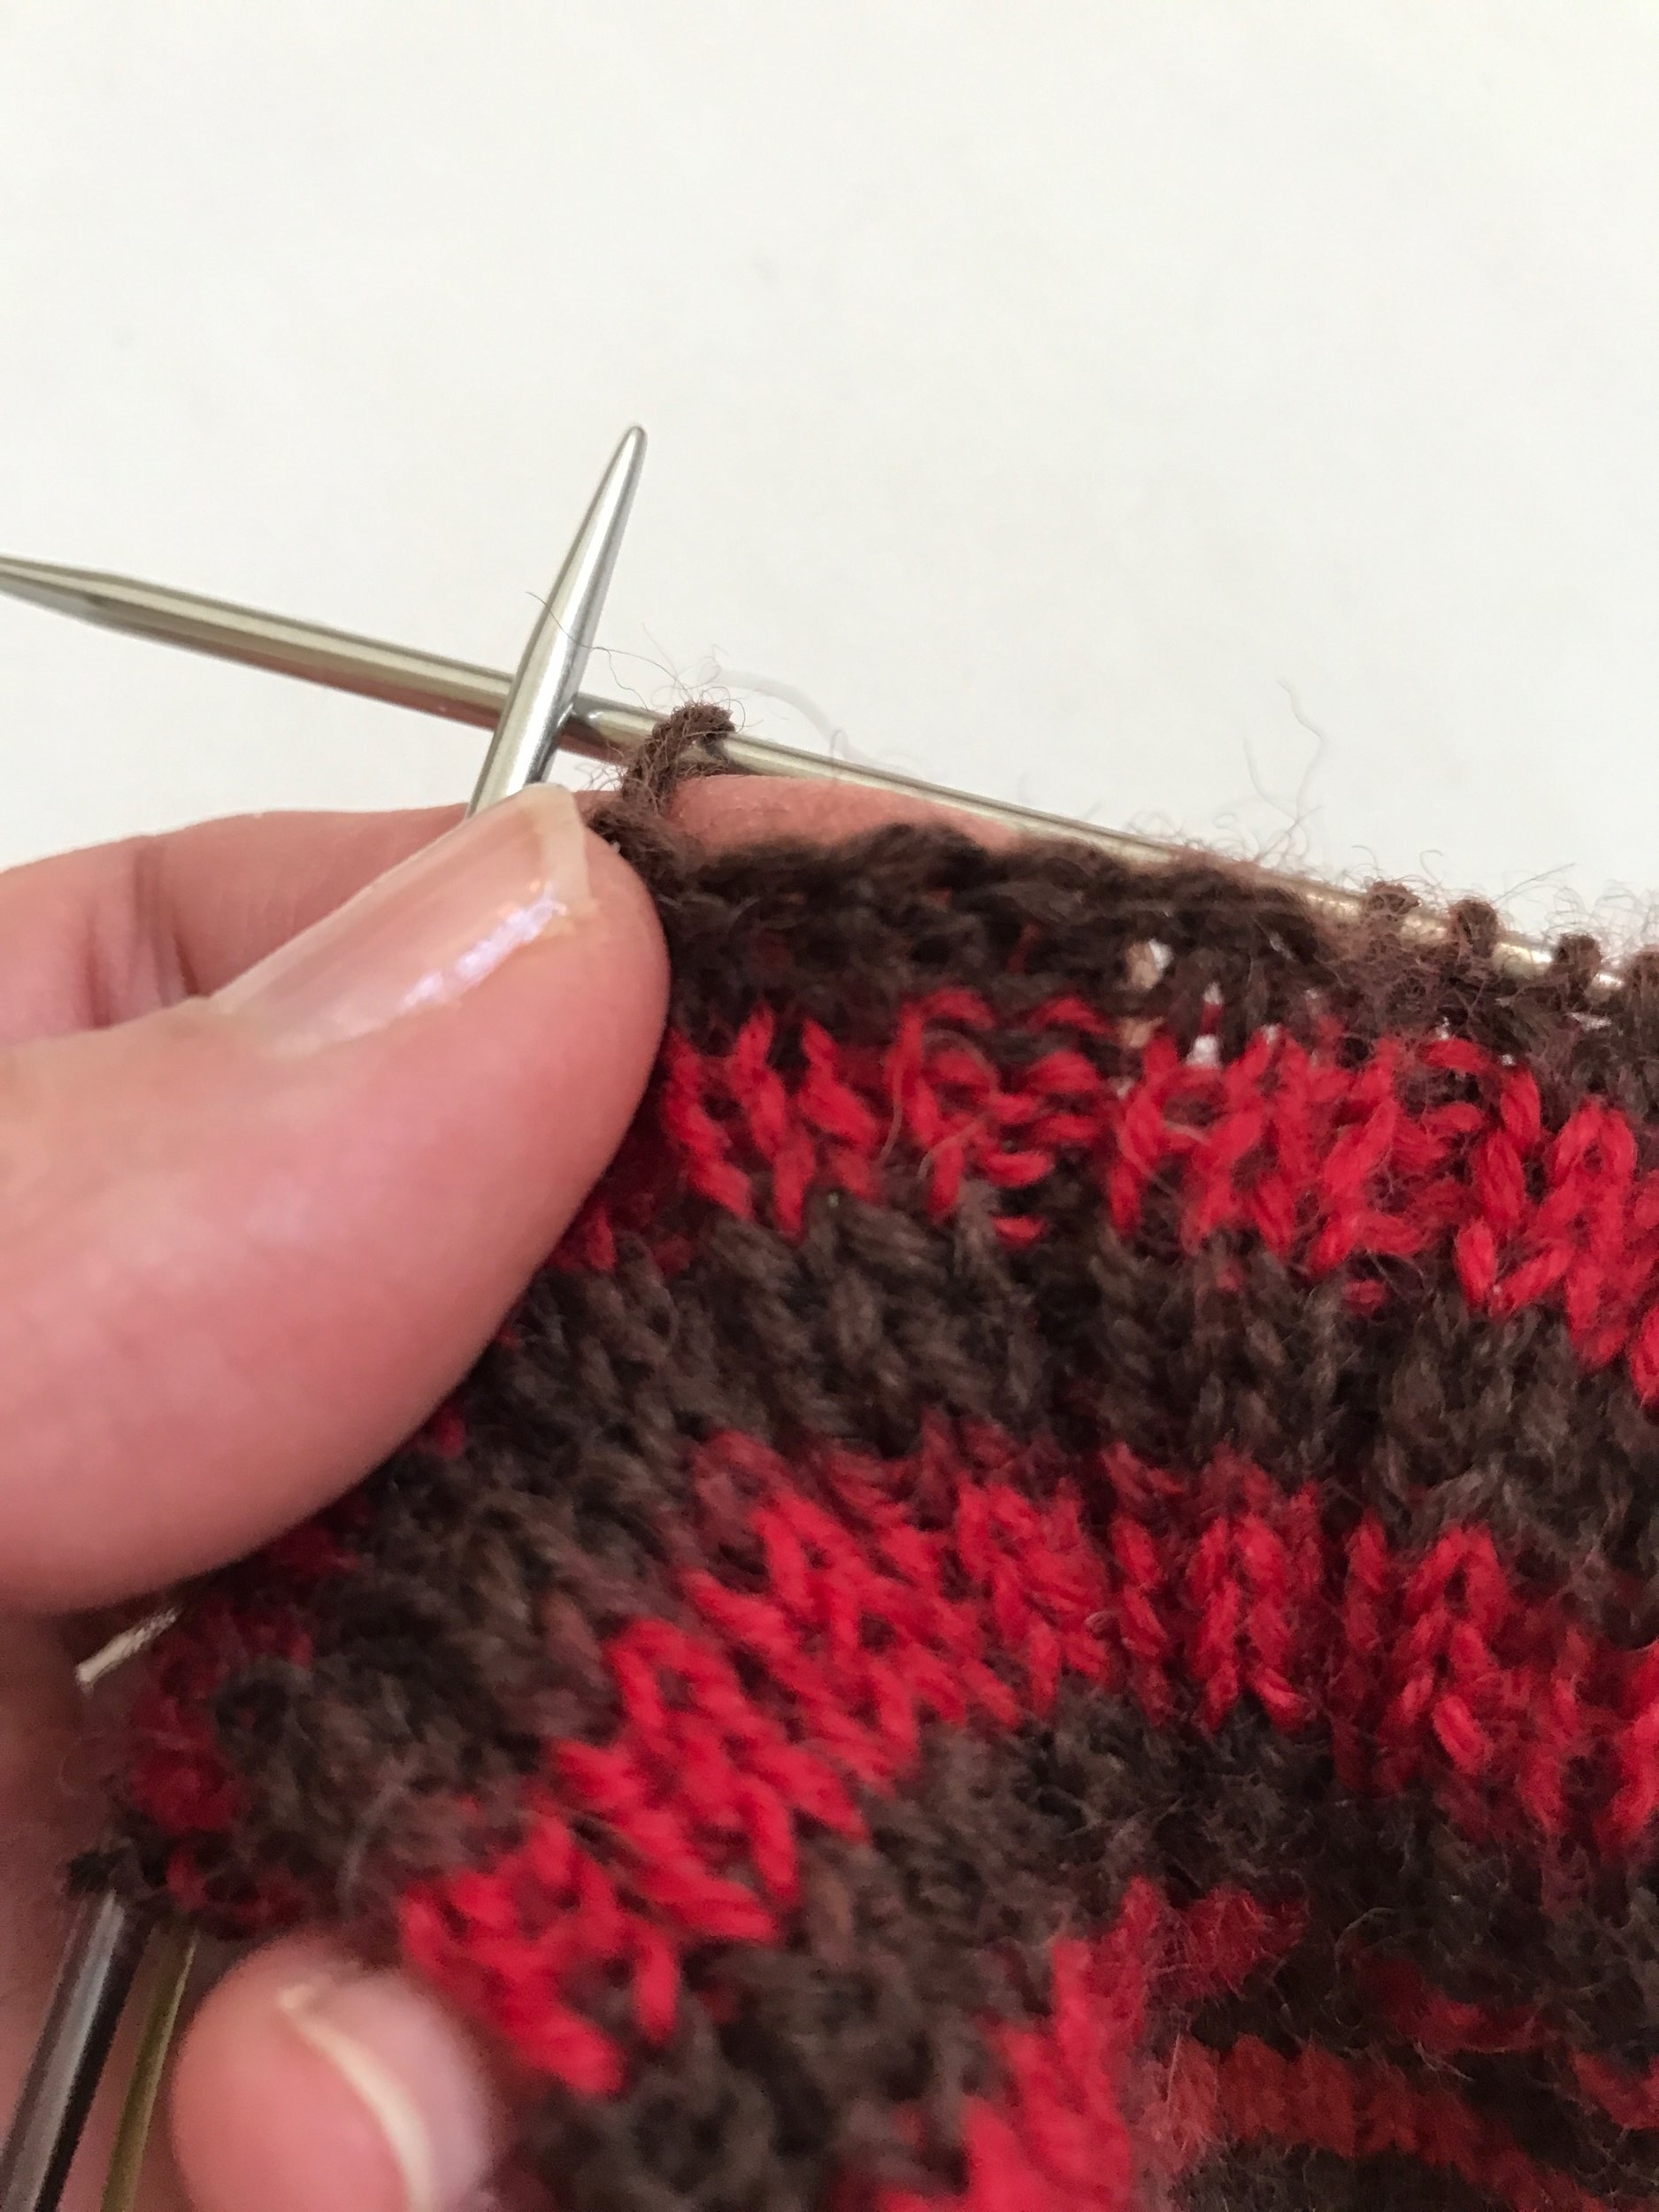
Before each knit stitch there is a reverse yarnover (image above, left)
Bind-off the knit stitch along with the yarnover
Before each purl stitch there is a standard yarnover
Bind-off the purl stitch along with the yarnover
Continue binding off across the ribbing. This is how the stretchy bind off should look (image above, right). There It is. Perfect from top to toe!
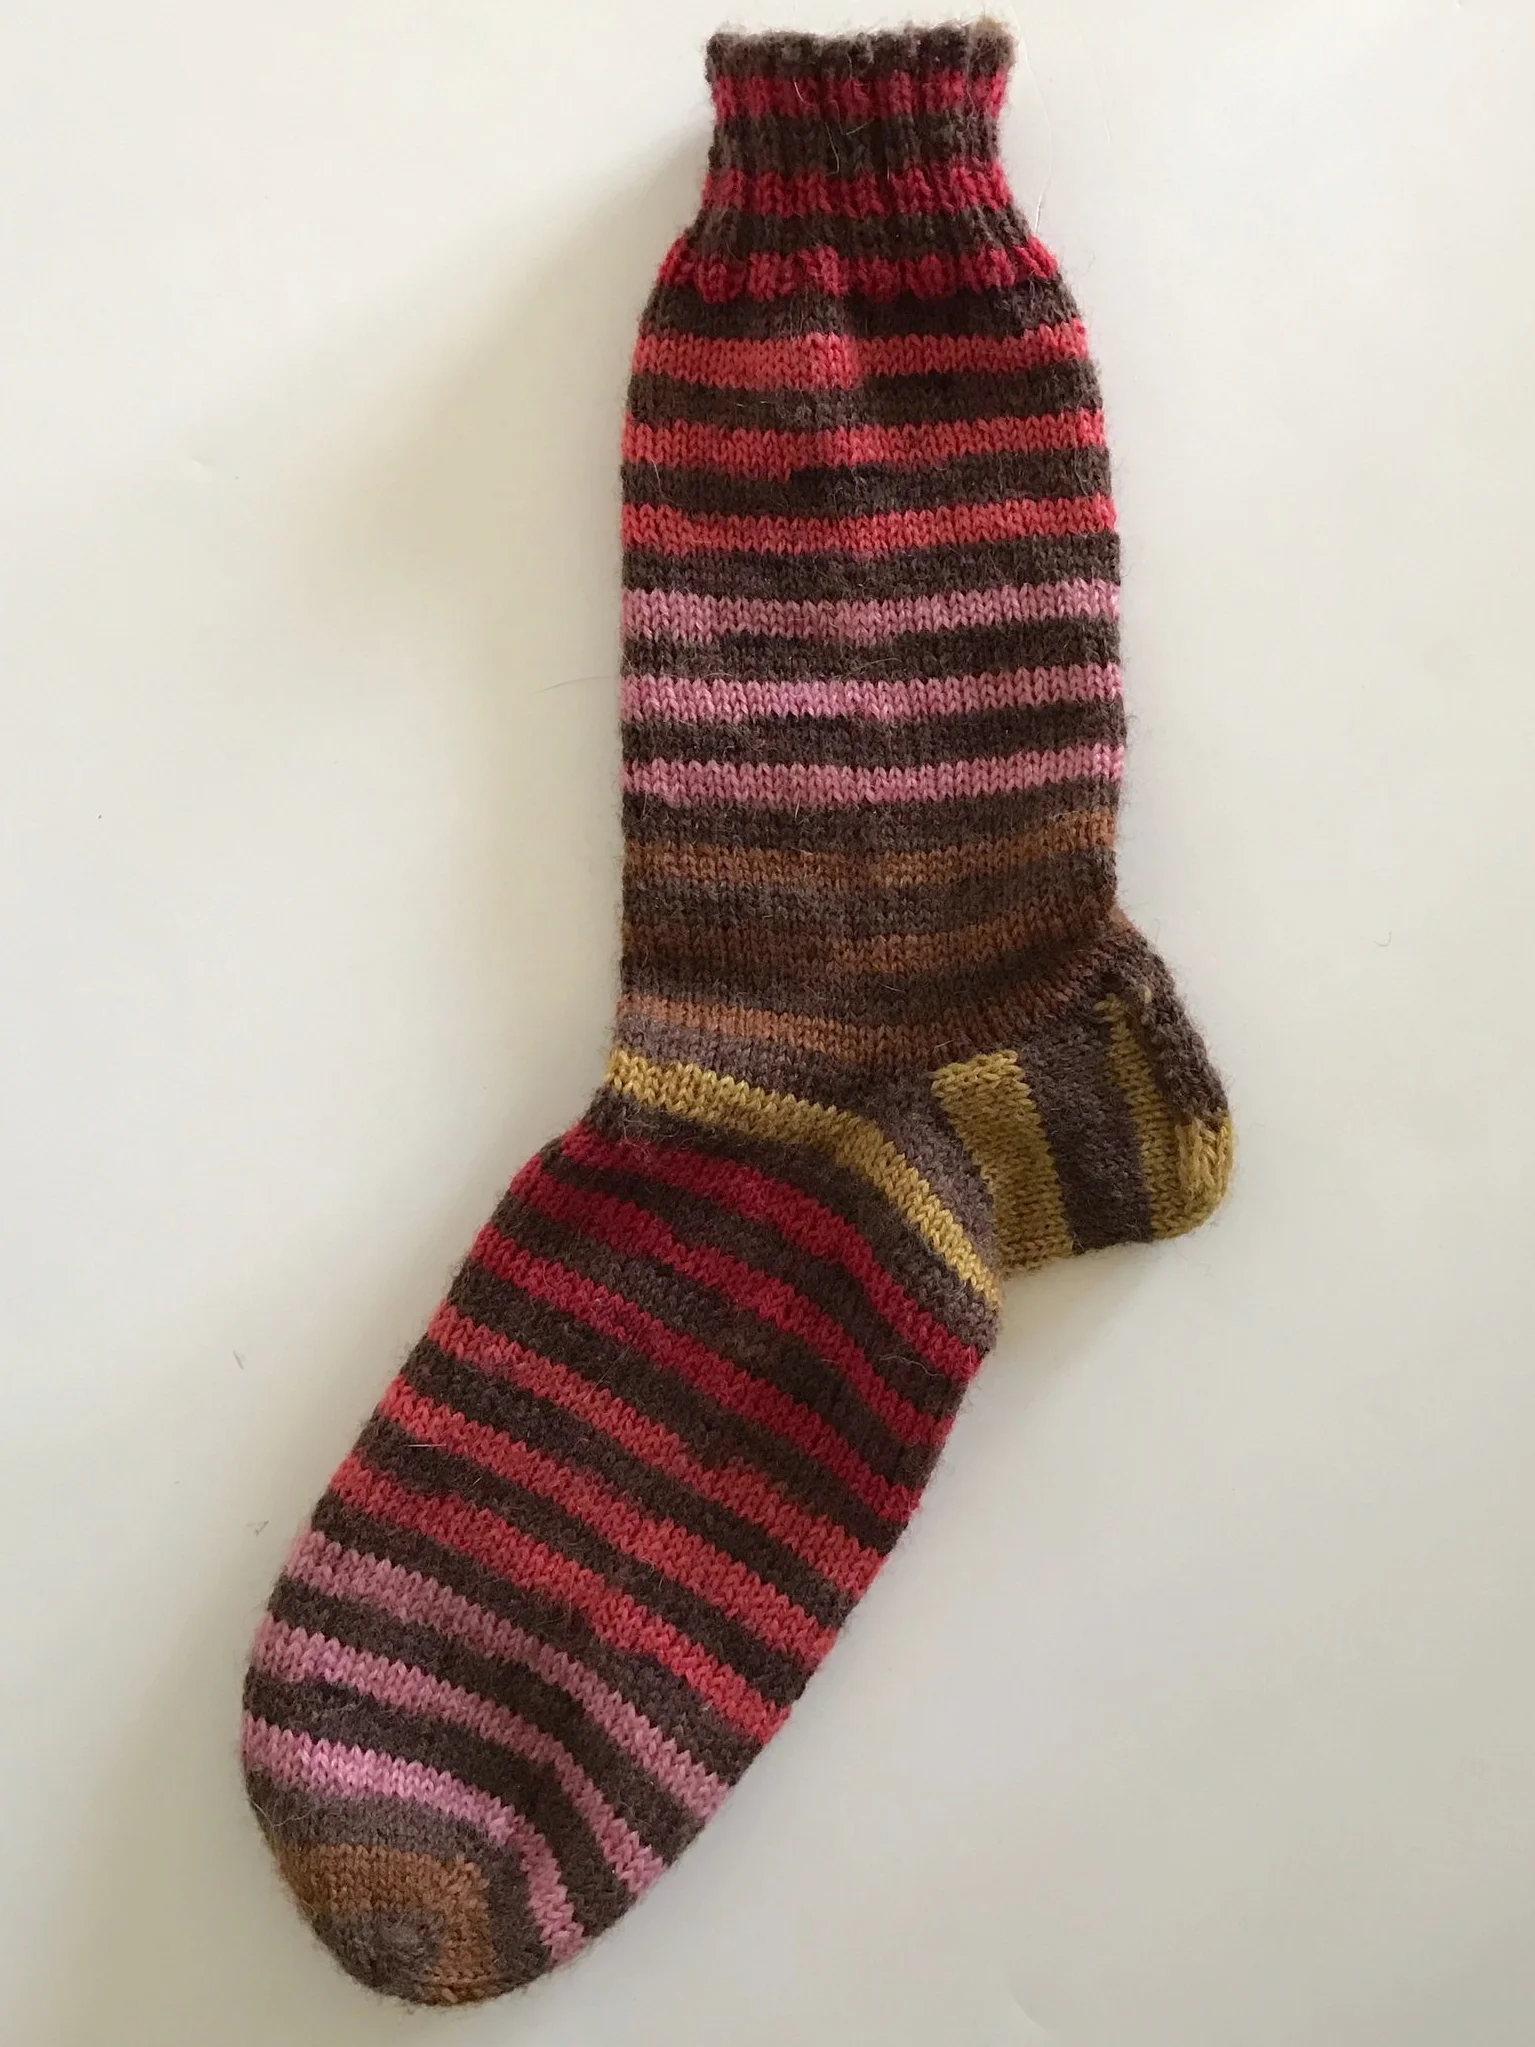
Finished Sock
Thank you all for knitting along with me. I hope you enjoyed Bottoms Up! I know I enjoyed sharing it with you.
How Do I Follow Along
All of the posts will be on the here on the NobleKnits Blog. Add a bookmark! Join the KAL group on Ravelry. Be sure to follow nobleknits on Instagram, Twitter, Tumblr, and Facebook. Use the hashtag #BottomsUpKAL to follow the knit along or post pictures of your progress.


