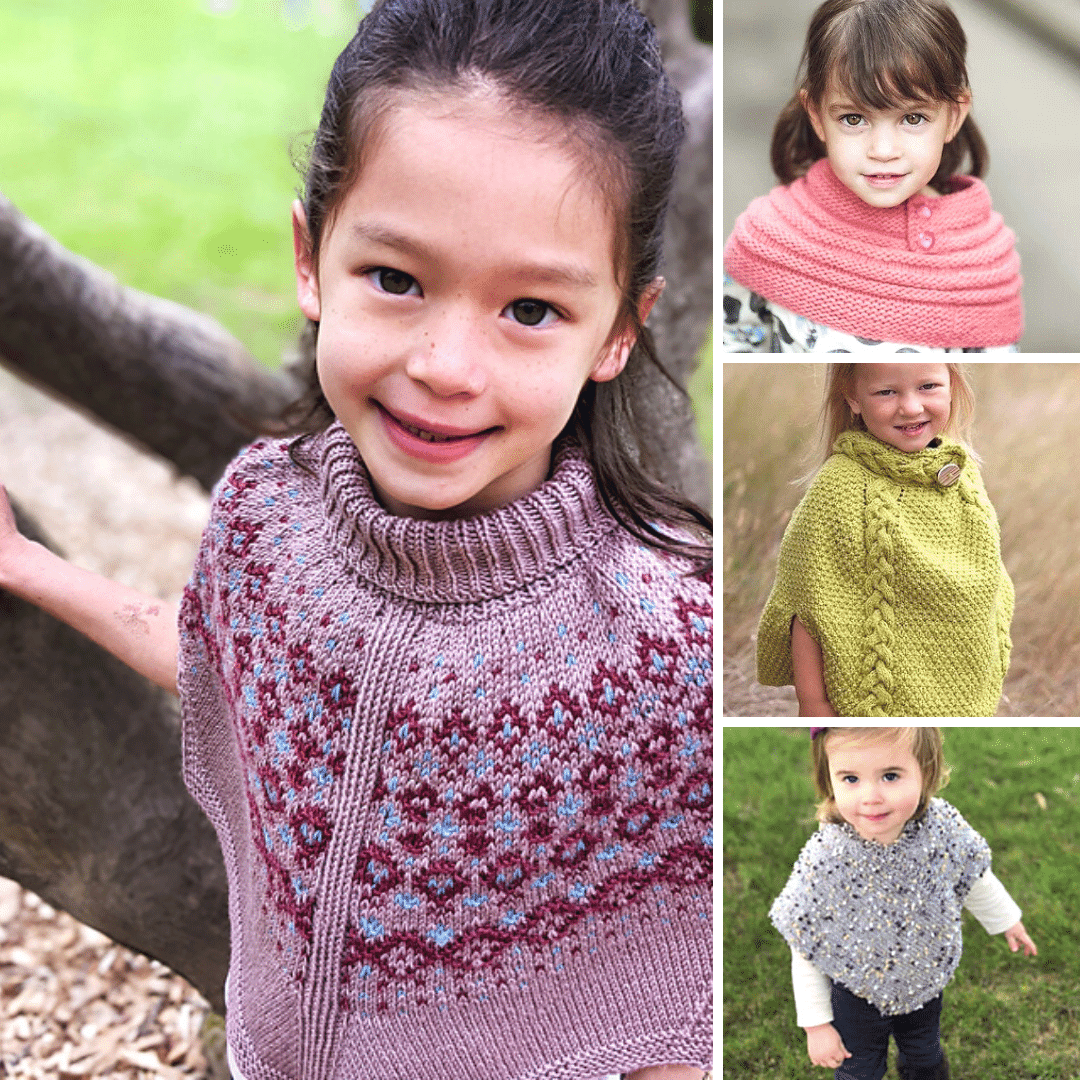
Easy Diagonal Baby Blanket Free Knitting Pattern
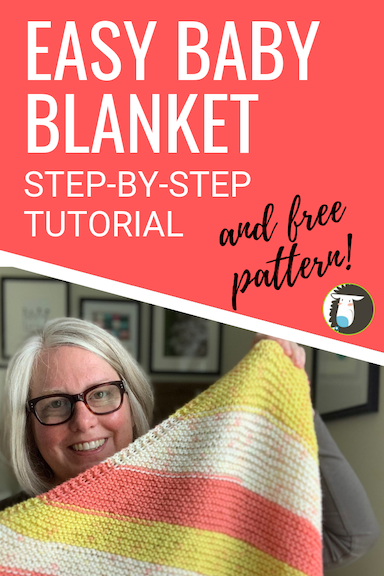
Learn how to make this gorgeous 2 skein baby blanket.
It is knitted all in one piece.
It's completely seamless and it's worked on the bias.
It's a really quick beginner project suitable for all skill levels.
I'll take you step by step through how to make this blanket.
This post may contain affiliate links. Please see my full disclosure for more information.
Materials
2 cakes Premier Sweet Roll Yarn in Citrus Pop OR 490 yards worsted weight yarn (#4 by the Craft Yarn Council)
Size US 10 straight 14” knitting needles OR size US 10 circular 24” needle
Tapestry needle
Start by making a slip knot.
I'm going to leave about a 4 to 6 inch tail and then make my slip knot and I'll put that on my needle. I will cast on three stitches total, so I only need two more.
Now you turn your work and the first row, you knit the stitches. First row completed. Now let's go on to the second row.
This is where we are going to do some increasing and we're going to do some make one increases. This will be, we have three stitches here and we're going to put an increase here and an increase here. So it will be knit one and then a make one, so we're going to find the little bar between those two stitches. It's right here and with this needle, we're going to bring it from back to front and pick up that stitch that bar in the middle then we're going to knit that.
Now knit the next stitch and we'll do that make one increase again. See this here's the one stitch, here's the other stitch, and here's the bar in between. So you are going to pick up that bar from back to front and then knit that stitch and knit the last stitch. We now have five stitches on the needle.
Now for row three, we're going to turn our work and just knit across the row. And that was row three. Now we're going on to row four. So what I'm going to do for row 4 is I'm going to put a stitch marker here so that I remember anytime I'm at the beginning of this row, it's an increase row.
So we'll knit one, place the marker. Oops actually, sorry we're going to knit two because the border edge will be two stitches. Then we're going to place our marker and do a make one increase and knit. Now we have two stitches left so we're going to do another make one increase and knit the last two stitches. So now you've set up your pattern.
So the next row is a knit row. See the marker is at the end of the work so we know that we are going to just knit this row. There's no increases. And now for the next row which is an increase row, we're going to knit our edge stitches which is knit two, slip the marker, so now we know this is the increase row. And we're going to pick up the bar, knit that bar, knit across to the last two stitches. Okay now we're going to pick up a bar and knit those last two stitches and that is our increase row.
We're always going to finish that pattern with a knit row.
Its increase row, knit row, increase row, knit row.
This is how your pattern will work out and you're just going to keep increasing using these two rows until you're almost out of that first skein of yarn. Make sure that you have enough to finish that second row of the pattern before you start the decreases.
I'm going to do a mini version of this project. I'm going to do one more increase and then I'll start the decreases so you can see how that's going to go. Now let's take a look at this. Here's where we started and we've been increasing out using those two rows until we are at the center of our project. So think of this as an entire baby blanket now we are at the center and we're going to start working this way to complete the project. I ended on a knit row and now I'm going to start my decrease rows. So on this row I'm going to knit one, then i'm going to actually take this stitch marker off for now. I'm going to do a slip knit pass which is much easier than it sounds. It's called an SKP. So you slip that stitch as if you are going to knit it. You knit the next stitch and then you take this stitch up and over. It's a decrease and it creates a decrease that leans this direction. Then you knit across to the last three stitches. Here we are at the last three stitches. Now we're going to knit two together and knit one. So that's been your decrease row. And now you're going to follow up just like on the other side of the pattern. You'll always work a knit row. Now we are going to knit that row and we have five stitches on the needle. We're going to work the last row of the pattern. So we're going to knit one, slip one, knit two together, pass this slipped stitch over, and knit one. Now we have three stitches remaining and we're just going to bind those off. So we knit two stitches, take the first one up and over. Knit the next stitch, take this up and over and now we need a pair of scissors. Clip that and we're just going to pull this through like that and we've bound off. Now this is a very tiny tiny version of what you're going to be knitting. I'm just going to pull that into shape. So this is how your knitting, it will look diagonal when you look at it like this when you knit this little square. But when you look at the overall blanket, you will have stripes going this way. Then we weave in the yarn ends. If you haven't woven in yarn ends before, I will show you quickly how to do it. This is a garter end to weave in. So basically you're going to just follow these stitches along to weave in the yarn ends. So I usually come up a row or two and I find a stitch I want to work on, like this. And then I just kind of follow it along like this. So you are doing pretty much a duplicate stitch like that so it blends in perfectly you can't see it. Clip that close to the work and you're done. If you want to learn more about knitting and become a better knitter, please hit the subscribe button below and the little bell to get notifications. Have a great day and thanks for watching.